
Setting up Ucommerce.Sitefinity.UI
- Setup a Sitefinity website through NuGet.
- Install Ucommerce.Sitefinity package from NuGet
- Install Ucommerce.Sitefinity.UI package from NuGet
- If upgrading from Ucommerce.Sitefinity 8.4.0 or 8.4.1: After installing Ucommerce.Sitefinity.UI run the console command:
Update-Package -reinstall
Note about Ucommerce.Sitefinity.UI 1.0.3.20066
- We noticed a case where the total of the mini cart widget doesn’t immediately update to the latest total upon adding to cart
- Workaround: Programmatically refresh the page after adding to cart
Since we only use test data in this case, we need to do these some extra steps:
-
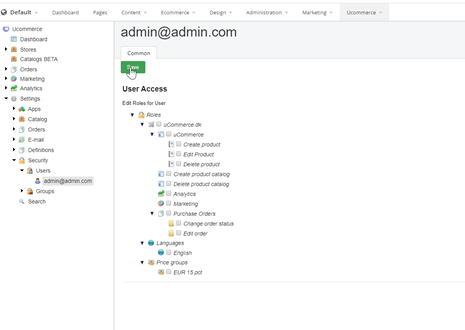
Go to Ucommerce>Settings>Security>Users, enter a user and click save
-
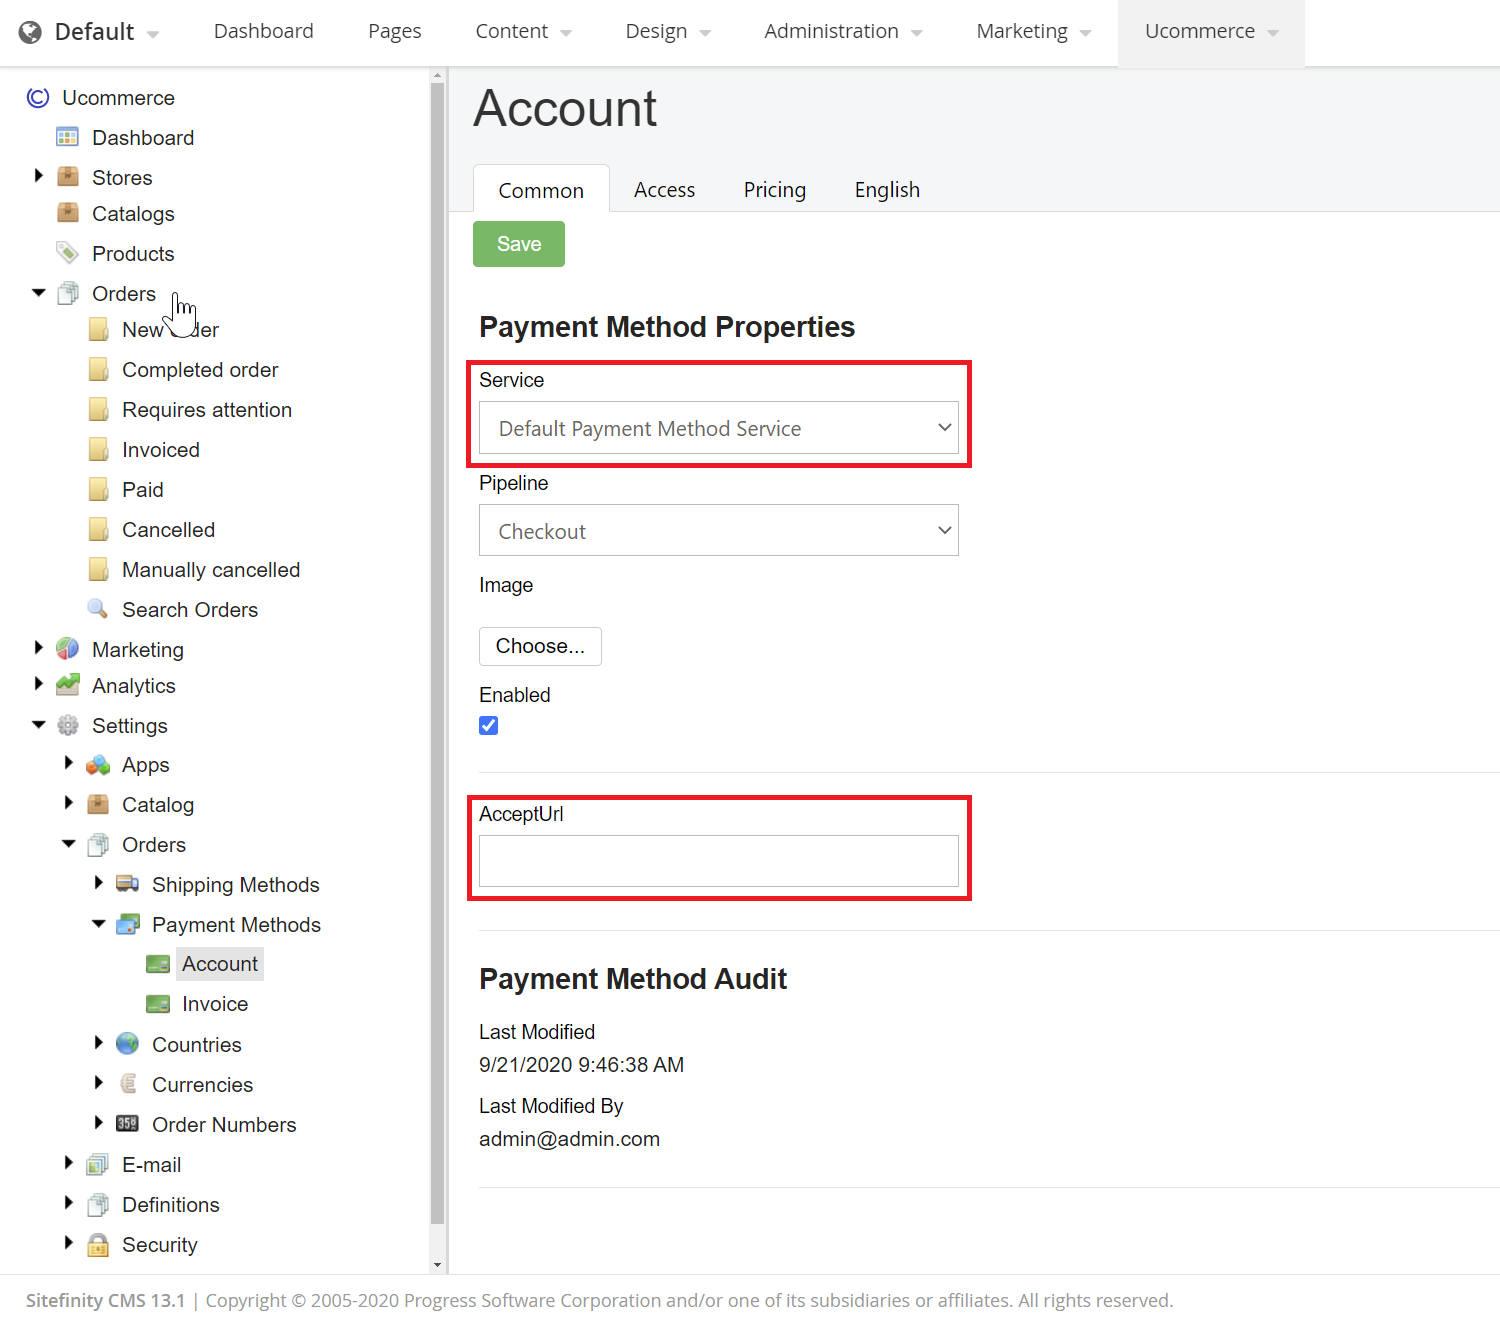
Change the Payment method Service to Default Payment Method Service inside of the Settings>Orders>Payment Methods and add the AcceptURL link
-
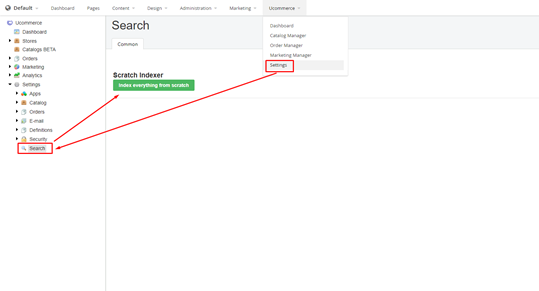
Run the ScratchIndexer in Ucommerce>Settings>Search
-
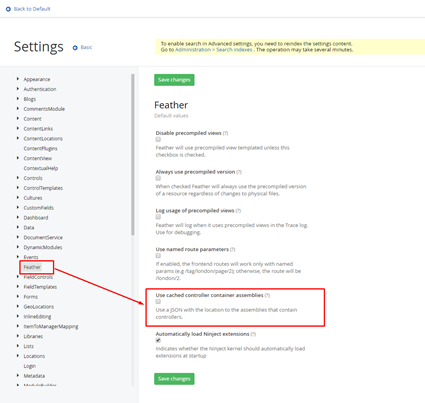
Disable Use Cached Controller Container Assemblies, by going into Sitefinity Settings>Advanced>Feather, removing the checkmark and recycling the application.
Create Page Template called Ucommerce Template with Template: Left Sidebar, Header, Footer.

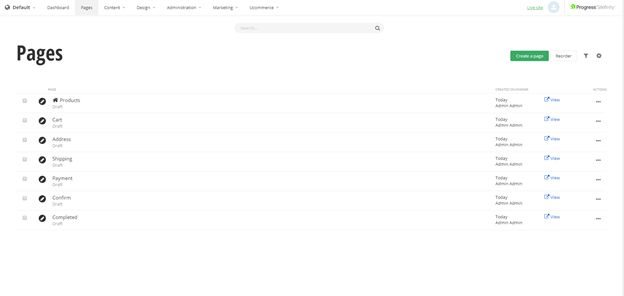
Create pages with the Ucommerce Template called:
Products, Cart, Address, Shipping, Payment, Confirm, Completed
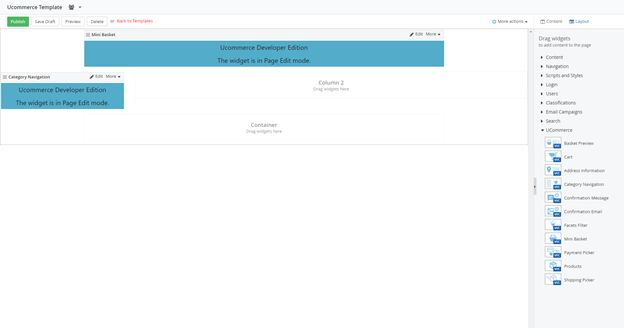
Go to the Ucommerce Page Template and enter the editor
Put the Mini Basket widget in the header
Put the Category Navigation in the left sidebar
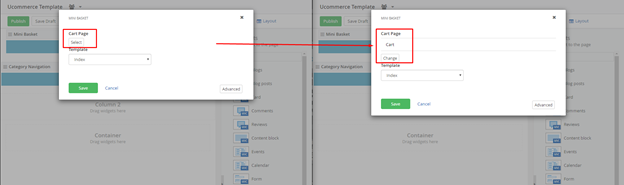
Edit the mini basket to have Cart Page point to >Cart<
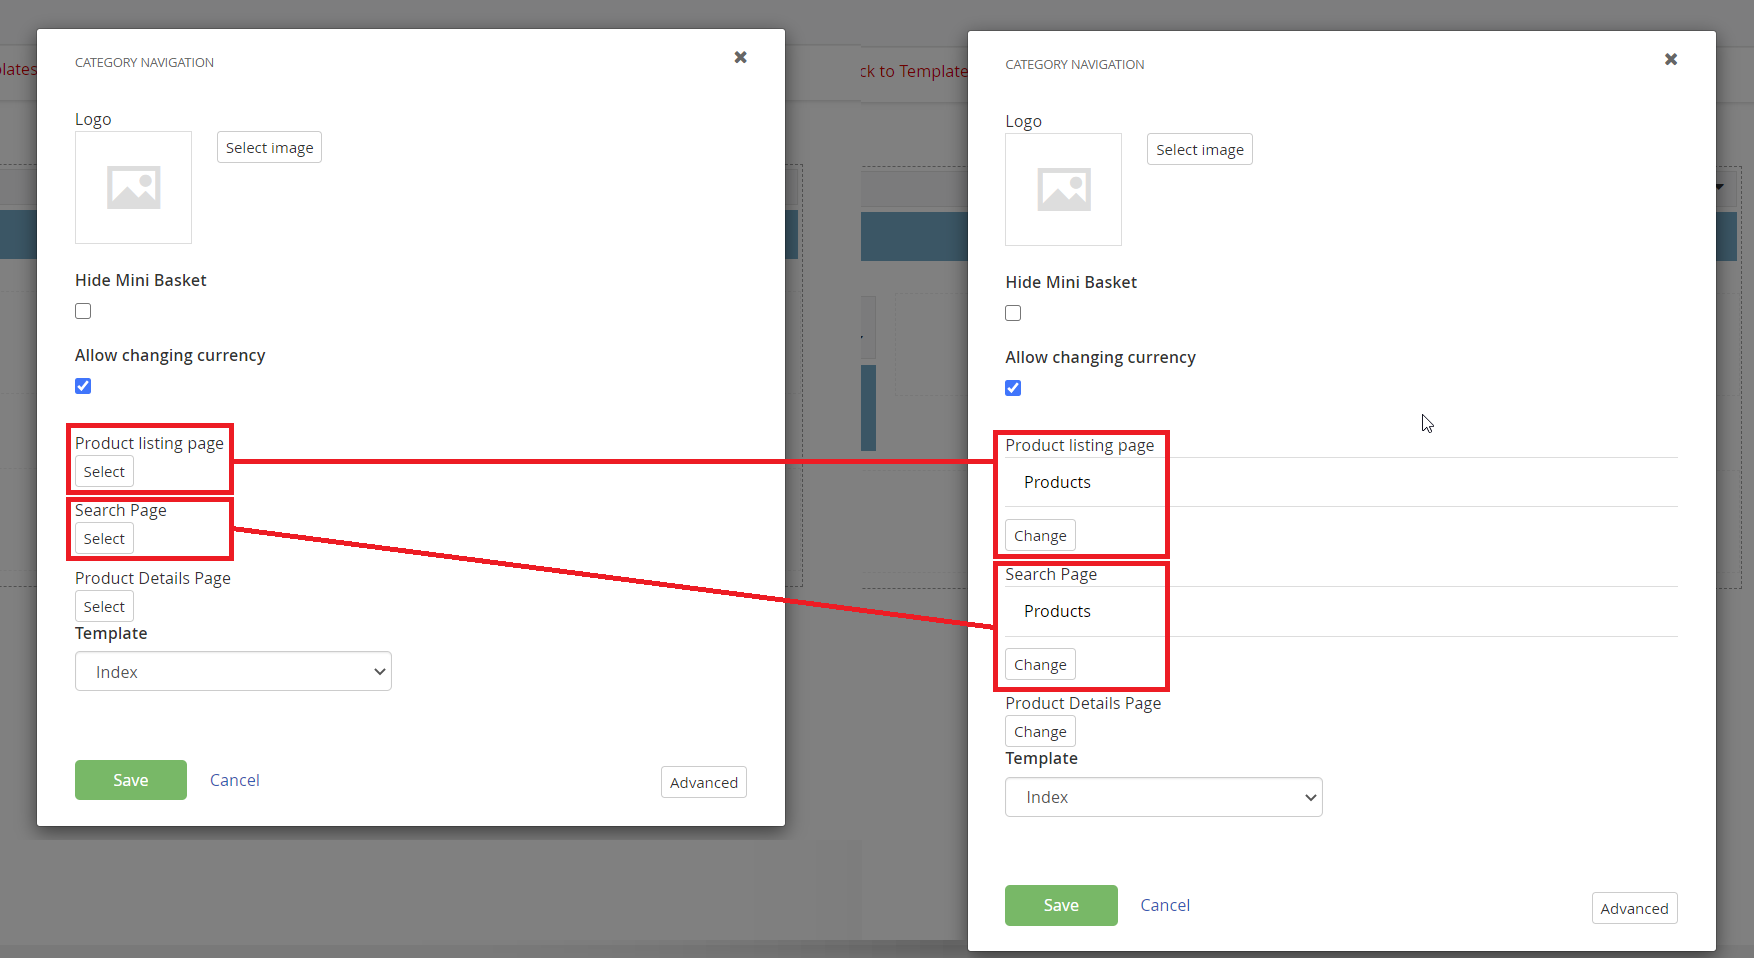
Edit the Category Navigation to have Product listing page and Search page point to >Products<
Save and publish
Go to the Products Page Editor
Put the Products widget in Column 2
Put the Facets Filter in the Left Sidebar

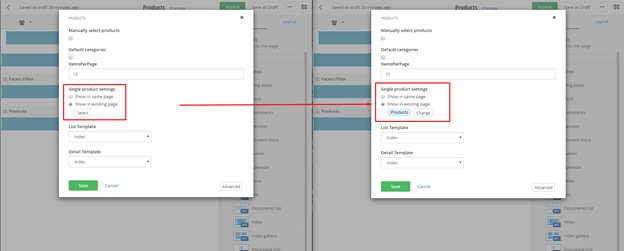
Edit the Products widget with Single product settings Show in existing page, that points to >Products<
In order to ensure your facets are working properly, there is a setting you need to adjust in Sitefinity - on your Products page you need to go to Settings > Title & properties.
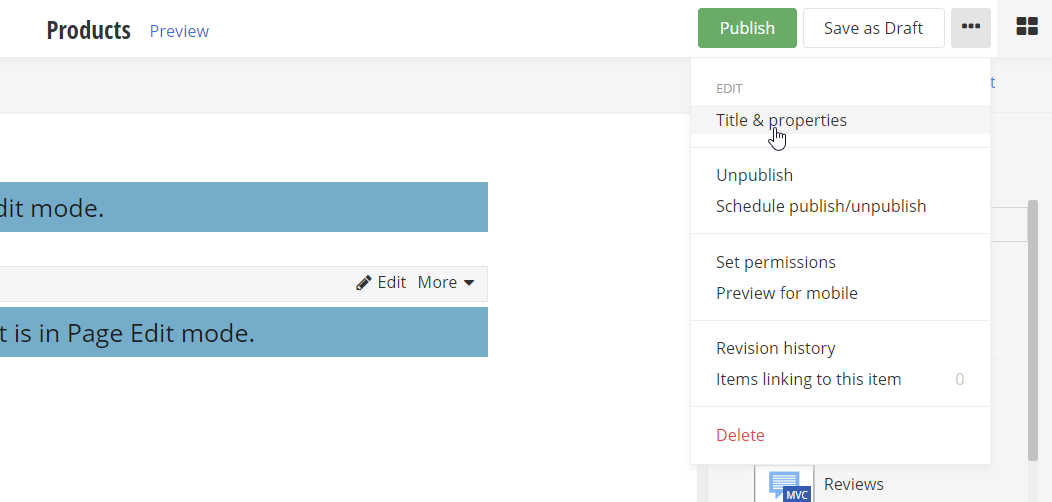
Unfold the Advanced options and in the Caching options drop down select No Caching.

Save and publish
Go to the Cart Page Editor
Put the Cart widget in Column 2

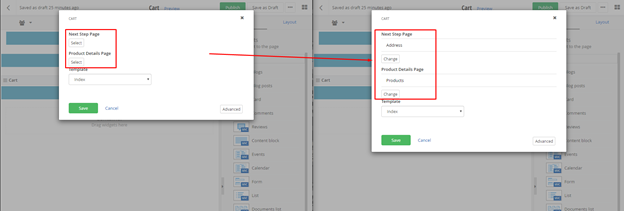
Edit the Cart widget with Next Page to point to >Address<, and Product Details Page pointing to >Products<
Save and publish
Go to the Address Page Editor
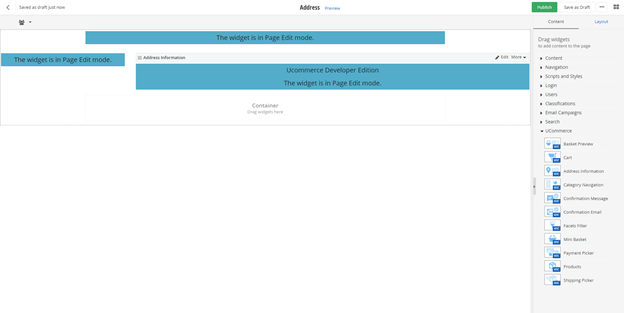
Put the Address Information in Column 2
Edit the Address Information widget with Next Page to point to >Shipping<, and Previous Page to point to >Cart<
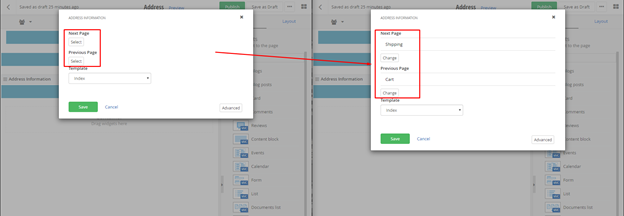
Save and publish
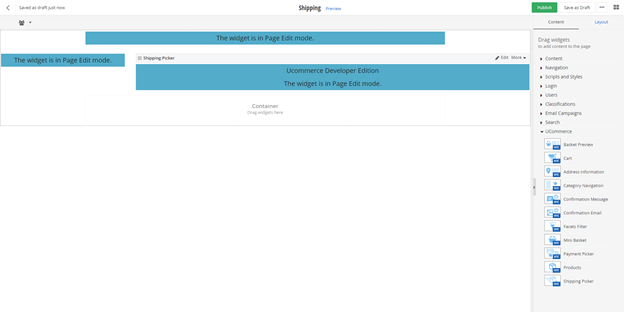
Go to the Shipping Page Editor
Put the Shipping Picker in Column 2
Edit the Shipping Picker widget with Next Page to point to >Payment<, and Previous Page to point to >Address<
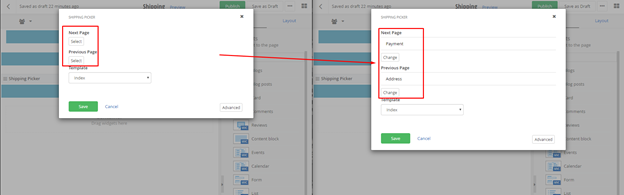
Save and publish
Go to the Payment Page Editor
Put the Payment Picker in Column 2

Edit the Payment Picker widget with Next Page to point to >Confirm<, and Previous Page to point to >Shipping<
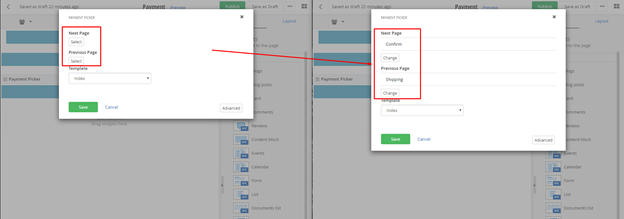
Save and publish
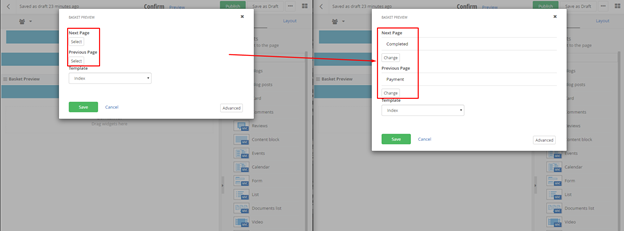
Go to the Confirm Page Editor
Put the Basket Preview widget in Column 2

Edit the Basket Preview widget with Next Page to point to >Completed<, and Previous Page to point to >Payment<
Save and publish
Go to the Completed Page Editor
Put the Confirmation Message in Column 2

Save and publish
You can now navigate to the website, and see the Ucommerce widgets in action! Going through the checkout flow will complete the order, and you will be able to see it in the Ucommerce back office.
Be aware that some of the default products and variants have no price, and the Marketing Campaign is giving sale on some of the products, this can all be manually changed in the back office.