
Setup Ucommerce to Include Braintree Payments as a Payment Method
Ucommerce comes with built-in support for Braintree payments. This guide will walk you through getting Ucommerce to work with Braintree for payment processing.
With Braintree you are responsible for hosting the payment form. A simple form is provided by Ucommerce, but it will need a better look and feel. This is implemented with the Transparent Redirect method.
A wide range of currencies are available, but you decide which currency to use when you create a merchant account. Each merchant account can only process a single currency.
Capabilities
Braintree is one of the payment providers which support the Acquire, Cancel, and Refund functionality. You can see how to enable this here.
Settings in Ucommerce
If you haven't completed the steps from the General Setup of Payment Methods in Ucommerce document you need to do that before you move on.
When the payment method is created and saved as described in here. The back-end displays the different settings you can set for Braintree.
Optional Settings in Braintree gateway
All those settings in the Braintree gateway are optional.
You log into your account at https://www.braintreegateway.com/login and sandbox at https://sandbox.braintreegateway.com.
Configure Validation Rules
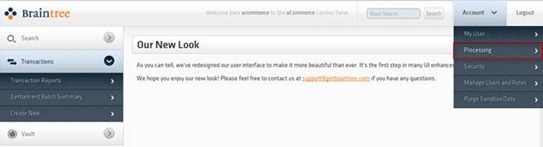
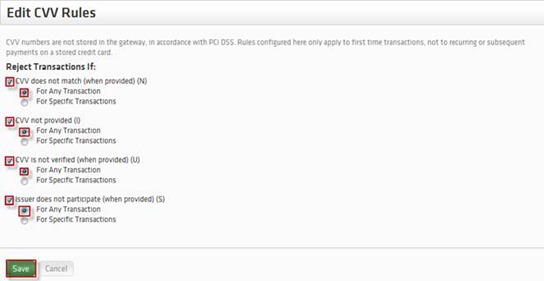
On the Menu at the top, click “Processing” and the click “Edit” in the CVV line.
Make sure that all is checked, and “For Any Transaction” is selected, to get CVV validation enabled. End by clicking “Save”.
Configuring the new payment method
Now we need to edit the payment method we created previously.
Some of the below information are found in the Braintree gateway, so start by logging in if you aren’t already.
Finding merchantId
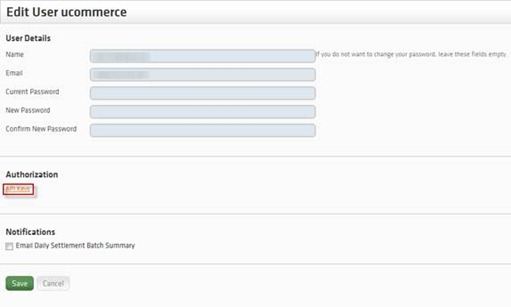
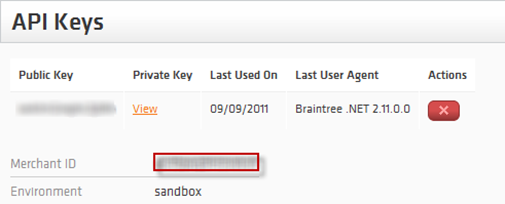
On the Menu at the top, click “Account” -> “My User” –> “API Keys”.
Here you find “merchantId”:
Finding publicKey
In the Menu at the top, click “Account” -> “My User” –> “API Keys”. Here you find the “publicKey”.
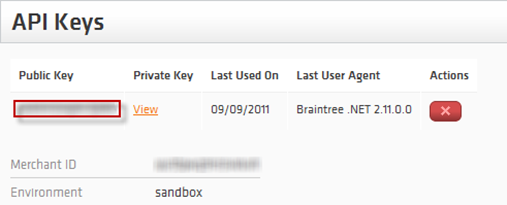
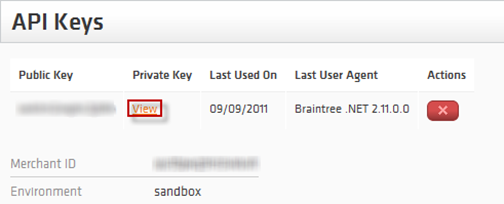
Finding privateKey
On the Menu at the top, click “Account” -> “My User” –> “API Keys” -> “View”. Here you find the “privateKey”.
Finding callbackUrl
Unless you have implemented your own version of the callback handling, this should be set to “(auto)”.
Finding paymentFormUrl
You can optionally host the payment form inside your own pages. To do this override the value “(auto)” with the URL on which the payment form is rendered.
Remember to use the CommerceLibrary:RenderPaymentForm or the RenderPage of the IPaymentWindow. Please find code samples in a later section.
Finding paymentFormTemplate
Path to the paymentFormTemplate. The default paymentFormTemplate BraintreePaymentForm.htm is located in Ucommerce\Configuration\Payments.
Finding acceptUrl and declineUrl
To get the customer redirected back to you page after ended payment, you have to specify a return url depending on payments result: Accept or decline.
Finding debug
If set to “True” you will be prompted to click a button before posting the information to “Braintree” otherwise it will do an autosubmit using Javascript. When running in production, you will want this set to “false”.
Finding testMode
Test mode will toggle the payment method service to use a test environment. A sandbox account is used in testMode.
Valid values “true” or “false”.
Set Look and Feel on the Payment Form
The payment form is populated with the contents of paymentFormTemplate file chosen in the configuration, no matter which way you choose to integrate it.
The HTML inputs that have a name specified in the default file are needed to submit the form to Braintree. It is possible to changes types of the fields, add other attributes and move the fields around, but they must retain the names assigned to them.
The Braintree provider will insert values at runtime by replacing placeholder values, e.g. “##XX##” tags. You can safely remove these placeholders if you wish to handle the form values yourself.
Integrate the Payment Form into Your Own Page
If you want to integrate the payment form into one of your pages you’ll want to modify the template HTML to include only the form element and get rid of the html and body tags.
Integrate the form using Razor
Sample code:
    var paymentGuid = HttpContext.Current.Request["paymentGuid"];

    var payment = Payment.All().Single(x => x.PaymentProperties.Where(y => y.Key == "paymentGuid" && y.Value == paymentGuid).Count() > 0);

    var paymentMethod = payment.PaymentMethod;

    var paymentWindow = paymentMethod.GetPaymentMethodService() as IPaymentWindow;

    //render using @Html.Raw
    paymentWindow.RenderPage(new PaymentRequest(payment.PurchaseOrder, payment));