
Setup Ucommerce to Include iDEAL (ING) as a Payment Method
Ucommerce comes with built-in support for iDEAL (ING) payments. This guide will walk you through getting Ucommerce to work with iDEAL (ING) for payment processing.
With iDEAL (ING) only authorization with instant acquire is available. To cancel or refund a transaction you will have to use the iDEAL (ING) Dashboard. This is implemented with iDEAL (ING) Basic.
Settings in Ucommerce
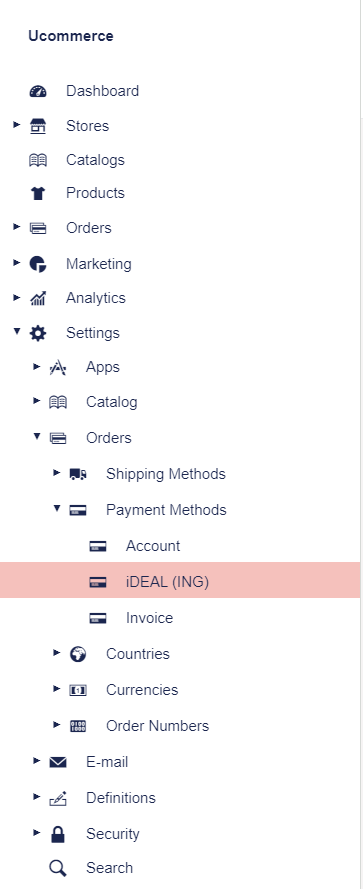
Add a new payment method, under “Ucommerce –> Settings –> Orders –> Payment Methods”. You can call it whatever you like, here I have used “iDEAL (ING)”.
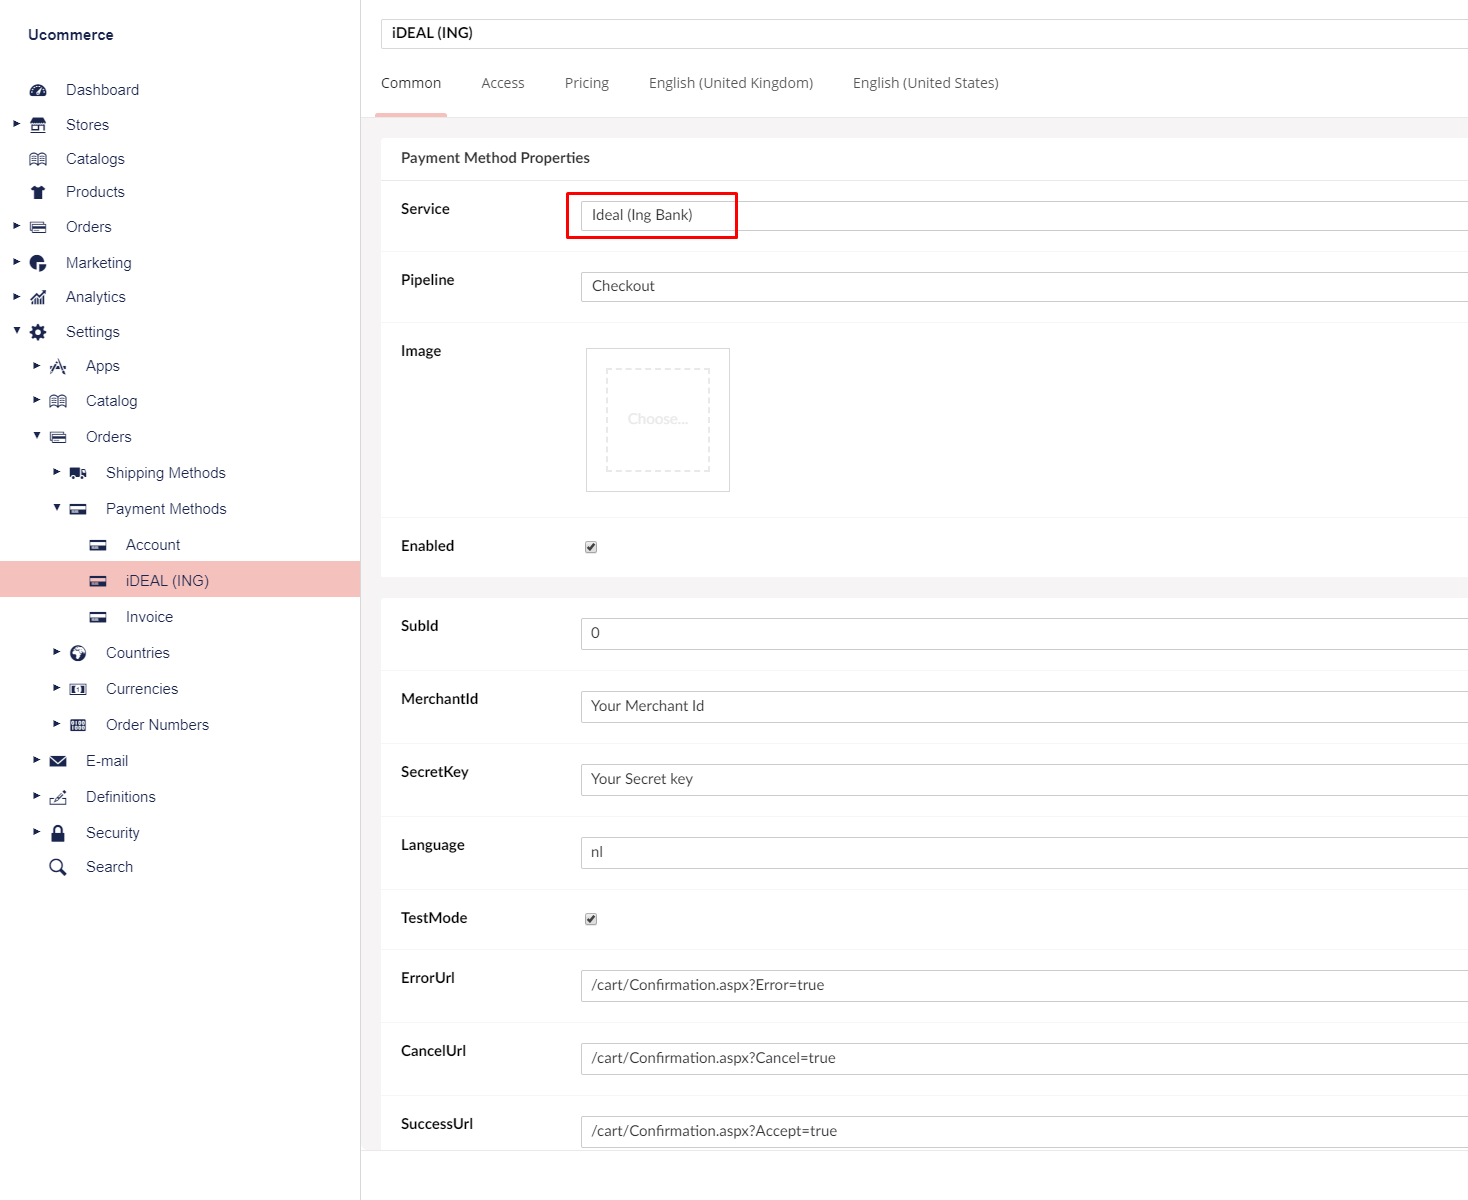
Click the newly created node and select “iDEAL (ING)” in the Service drop down list. Fill out the rest of the required information, like where it’s available from under the “Access” tab, pricing and the language tabs. When you are done click “Save”.
That’s everything in the Ucommerce interface.
Settings in iDEAL Dashboard
Changes needed in the iDEAL (ING) Dashboard, so it will work with Ucommerce.
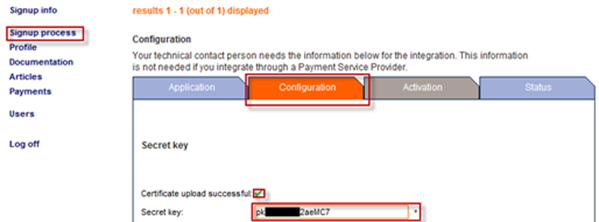
Configure Secret Key
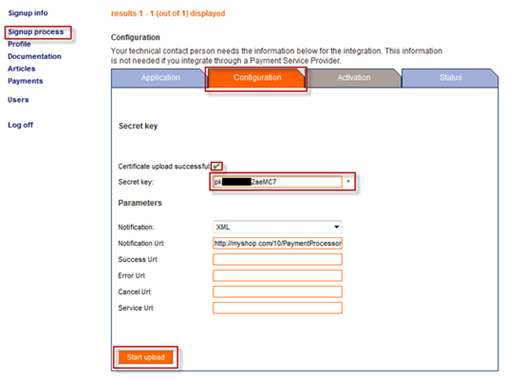
On the Menu on the left side, click “Signup process –> Configuration”. Make sure that there is a key in the “Secret key” field and the click “Start upload”. The “Certificate upload successful” should be marked with a green sign upon success.
Configure Return URLs
Ucommerce performs validation of the payment information when iDEAL (ING) performs the callback. To get the callback, for verify the payment, you need the set the “Notification” to XML and the “Notification URL” to you shops URL ending with “/PaymentMethodId/PaymentProcessor.axd”.
To find the PaymentMethodId you need to search the database. If you used the name “iDEAL (ING)” for the payment method name, you can run this SQL query in the SQL Server Management Studio:
select PaymentMethodId from Ucommerce_PaymentMethod where Name='iDEAL (ING)'
The URL could be then end with: “/10/PaymentProcessor.axd”.
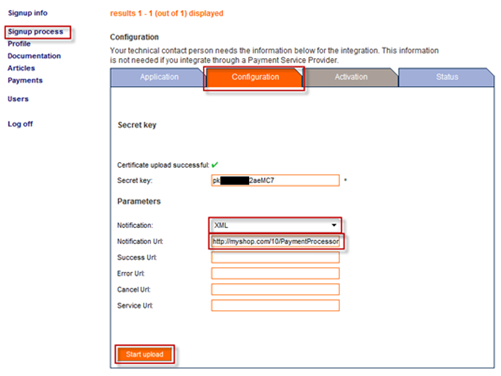
Click “Start Upload” when you are done.
Editing the Ideal_Ing.config File
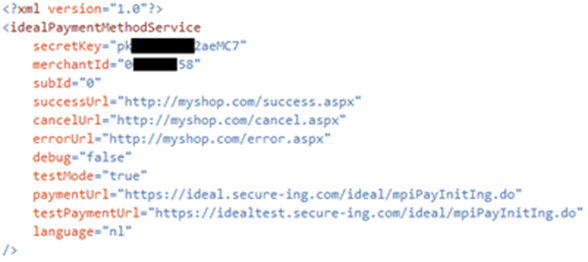
Now we need to edit the Ideal_Ing.config file.
You will find the Ideal_Ing.config file in the following location, where “rootdir” is the directory on the computer where you installed Umbraco: “rootdir\umbraco\UCommerce\Configuration\Ideal_Ing.config”. Usually “rootdir” is c:\inetpub.
Some of the below information are found in the iDEAL (ING) Dashboard, so start by logging in you aren’t already.
Finding secretKey
On the Menu on the left, click “Signup process” –> “Configuration”, here you will find the secretKey. Make sure that the “Certificate upload successful” is marked with a green sign, before you use it.
Finding merchantId
On the Menu on the left, click “Signup process” –> “Application”, here you will find the Merchant ID.

Finding subId
Unless agreed otherwise with the acquirer, you should use “0”(zero).
Finding successUrl, cancelUrl and errorUrl
To get the customer redirected back to your page after the payment is completed, you have to specify a return URL depending on payments result: Success, Error and Cancel.
Finding debug
If set to “True” you will be prompted to click a button before posting the information to “iDEAL” otherwise it will do an autosubmit using Javascript. When running in production, you will want this set to “false”.
Finding testMode
Test mode will toggle the payment method service to use a test environment where applicable. Usually this implies working against another URL.
Valid values “true” or “false”.
Finding language
Set preferred language, currently only “Dutch”(nl) is supported by remote gateway.
Executing a Pipeline on Callback
Running a pipeline once payment is authorized can be helpful if you need to complete the order once the customer returns to your site.
To run a “pipeline” once the callback if received and processed, open Umbraco click “Commerce” select the payment method (“iDEAL (ING)”). In the pipeline drop down list select Checkout and then click “Save”.
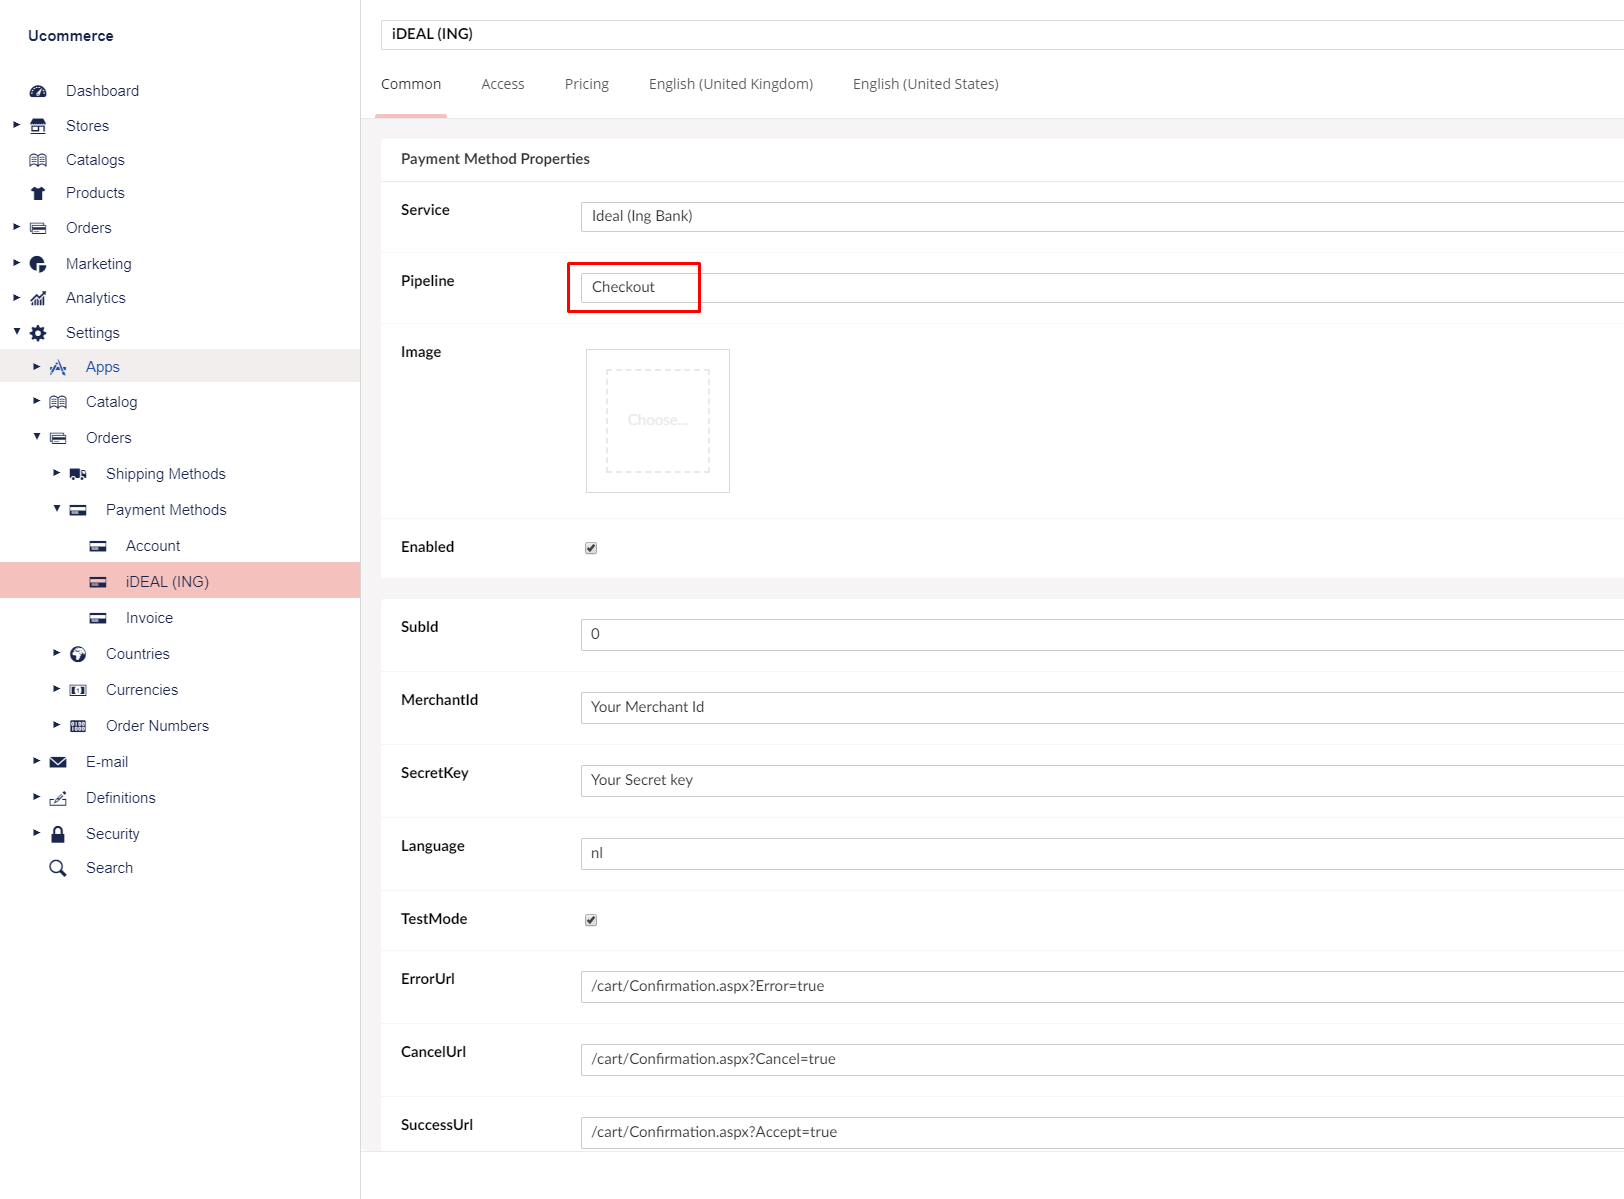
Now the default pipeline that comes with Ucommerce will be run after each successful callback. This sets the Basket to an Order, gives it an OrderNumber, and other things.
Configuring Auto Acquire and Cancel Payments
Authorize.Net comes with the ability to do automatic acquire and cancel payments. In order to make this work you need to enable a pipeline task.
To enable auto acquire edit the “ToCompletedOrder” pipeline.
To enable auto void/refund edit the “ToCancelled” pipeline.
The pipeline configuration is found in /umbraco/ucommerce/pipelines.

Simply remove “” at the highlighted line. These are HTML comment sections.
FAQ
- Test mode – Make sure test mode if turned off when going live.
- You can simulate different payment statuses by using special amount on your payment. Please note that success payments can only be made with a payment total of 1 EUR.
Transactions made with any other amount than the ones below will result in an error:
- Successful transaction: 1 EUR in test mode
- Cancelled transaction: 2 EUR in test mode
- Expired transaction: 3 EUR in test mode
- Open transaction: 4 EUR in test mode
- Format error: 7 EUR in test mode.