
Quickstart
This guide will teach you how to connect your first client to our services. We'll take you through:
- How to obtain your Client Secrets which will give you access to our API
- How to connect your application and do a full checkout.
We suggest that you use our postman collection while going through this guide.
Note: This guide has a single prerequisite, before you start. To walk through this guide we expect you to have a running version of Ucommerce, with a bare minimum of Avenue Clothing installed.
Note: Headless is working from version 9.6.0 and above.
Installing Headless
Whatever your favourite CMS for Ucommerce is, the installation of our headless API will be the same.
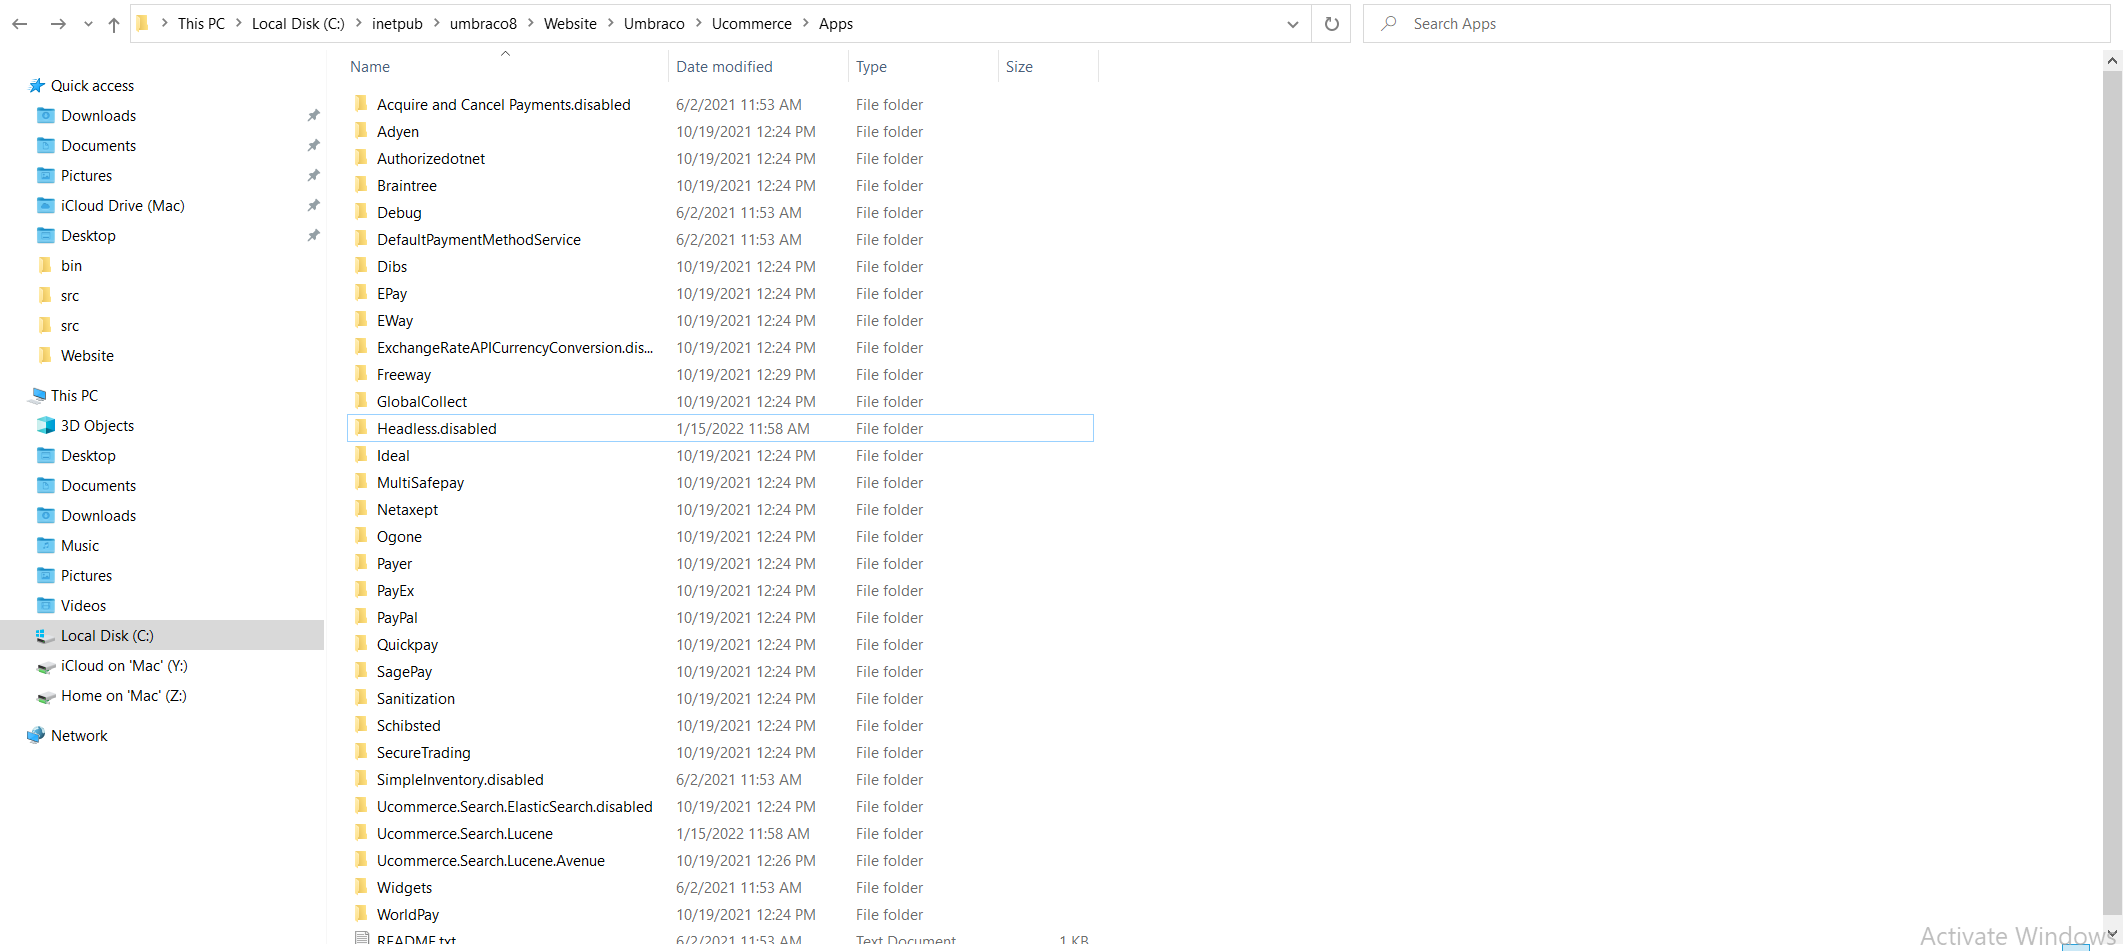
We have made it as simple as possible for you to install this fresh new feature. Just open your file explorer and find the ucommerce/apps folder.
From here you will see a folder called Headless.disabled, rename this to Headless, and you are good to go. You need to do a restart of your application in case it is up, as the change is not reflected before you restart the application.
After you have renamed the folder, you are almost done setting up the Headless API. The only thing left is to enable Ucommerce to run in an async state.
Doing this is simple. Open your web.config and add a new appSetting like this:
      <appSettings>
        <add key="UcommerceAsync" value="true" />
      </appSettings>
Note For Umbraco 8 it is also possible to install via nuget.
Get your credentials
Time to obtain your credentials.
- Open up Ucommerce Backoffice as an administrator
- Under Settings open up Security
- Go into API Access
- In the top right corner choose the store whose credentials you want
- The Client Id and Secret are now easily accesible through their respective text fields.
- Add a
Redirect url, through the Add button in the UI. For this quick start guide usehttp://localhost
Note: if you wish to find the credentials through the database they are stored in the
UCommerce_ProductCatalogGrouptable and the redirect url is stored inuCommerce_AuthenticationRedirectUrl

Make your first checkout
Time to connect to your service.
Step 1 - Start to connect
First, you need to find your Client Id and Client Secret.
Now it's time to connect!
In this example you will be shown how to start a connect flow.
        curl -D- -G \
            https://umbracodemo1.ucommerce.net/api/v1/oauth/connect \
            -d client_id=<CLIENT_ID> \
            -d redirect_uri=<REDIRECT_URL> \
            -d response_type=code
The redirect_uri is where you will be redirected to after the call has finished. This needs to match one of the redirect urls you specified in the first section of this guide. For more information about how to connect, please take a look at Connect
The response will be a 302 (Found or Moved Temporarily). Please look in the location header and copy the code param.
Note: All curl examples uses a website that we are hosting with Umbraco and headless installed. If you want to use your own site please replace
https://umbracodemo1.ucommerce.net/with your base url.
Step 2 - Exchange the code for tokens
Now we need the code from Step 1 to get an access token. Notice that the code may be URL encoded if you received it in your browser. If it is, you must decode before going any further in this guide.
        curl -D- -X POST https://umbracodemo1.ucommerce.net/api/v1/oauth/token \
            -u <CLIENT_ID>:<CLIENT_SECRET> \
            -H 'Content-Type: application/x-www-form-urlencoded' \
            -d '{
                    "grant_type" : "authorization_code"
                    "code": "<CODE>"
                    "redirect_uri" : "<REDIRECT_URL>"
                }'
Note: A
codewill expire after one minute.
After a successful request you will get this:
    {
      "access_token": "eyJhbGciOiJIUzI1Ni978juanR5cCI6IkpXVCJ9.eyJ1c2VySWQiOiJmYTE4OTI3MS1mOTY1LTRmNWMtOTlmOS1lNDViNzNiYzI4MzkiLCJjbGllbnRJZCI6InZpaWEtZnBwIiwicm9sZSI6IkNsaWVudFVzZXIiLCJzZ67623aW9uSWQiOiJlZmE1NWU0ZS0xZTUxLTQ1YWMtYWEyYy01OThhNjFjMTZlOTYiLCJuYmYiOjE1Njc0MTQxNzMsImV4cCI6MTU2NzQxNzc3MywiaWF0IjoxNTY3NDE0MTczfQ.7QD6zGcdonYy79384buXOqsykWrbWa3L6LW4d9uzb-zA",
      "expires_in": 300,
      "redirect_uri": "https://httpbin.org/anything",
      "refresh_token": "eyJhbGciOiJIUzI1NiIsInR5cCI687234pXVCJ9.eyJ1c2VySWQiOiJmYTE4OTI3MS1mOTY1LTRmNWMtOTlmOS1lNDViNzNiYzI4MzkiLCJjbGllbnRJZCI6InZpaWEtZnBwIiwiY29uc2VudElkIjoiYTYyODExYWYtNzUxMS00ZWQ0LoyiauasiYTEtMjAwNzc2NGQ1MTIwIiwic2Vzc2lvbklkIjoiZWZhNTVlNGUtMWU1MS00NWFjLWFhMmMtNTk4YTYxYzE2ZTk2Iiwicm9sZSI6IlJlZnJlc2hUb2tlbiIsIm5iZiI6MTU2NzQxNDE3MywiZXhwIjoxNTY4NjIzNzczLCJpYXQiOjE1Njc0MTQxNzN9.5-x0NNg5lMxPnZRYtu983764q0sbPcSb7U9b23e3Zwx0Ss9I",
      "token_type": "bearer"
    }
Note: You will be using the
access_tokenin the next steps.
Step 3 - Creating a basket
Now you are all set to create a basket. Here's how to do it:
        curl -D- -X POST https://umbracodemo1.ucommerce.net/api/v1/baskets \
            -H 'Authorization: Bearer <ACCESS_TOKEN>'
            -H 'Content-Type: application/json' \
            -d '{
                    "cultureCode": "en-GB",
                    "currency": "DKK"
                }'
This will produce a response containing the newly created BasketId.
    {
        "basketId": "afd095a8-6215-4daf-a813-60f27f01c7b7"
    }
Now that you've got a basket, you can either proceed to shipping information, billing information or add products to the basket. Please take note of the basketId, as you will need it when proceeding.
Step 4 - Add product to basket
By using the BasketId of the basket from Step 3 and the access_token from step 2, we can start adding products to a basket.
        curl -D- -X POST https://umbracodemo1.ucommerce.net/api/v1/baskets/{baketId}/lines \
            -H 'Authorization: Bearer <ACCESS_TOKEN>'
            -H 'Content-Type: application/json' \
            -d '{
                    "Quantity": -20,
                    "Sku": "BWWMSFSS-LE",
                    "VariantSku": "BWWMSFSS-LE-15-White",
                    "PriceGroupId": "878b0ff1-0800-40ac-b006-0e9858f234a5",
                    "ProductCatalogId": "7d27a01f-21e1-4adb-afc2-490c284bd478",
                    "CultureCode": "en-GB"
                }'
Note: The
PriceGroupIdandProductCatalogIdcan be found throughapi/v1/price-groupsandapi/v1/catalogs. For more information about, how to recievePrice GroupsorCatalogs. see api refrences or a deep dive intoPrice GroupsorCatalogs.
Step 5 - Add shipping Information
By using the BasketId of a Basket from Step 3 and the access_token from step 2, we can start adding shipping information to the basket.
        curl -D- -X POST https://umbracodemo1.ucommerce.net/api/v1/baskets/{baketId}/shipping \
            -H 'Authorization: Bearer <ACCESS_TOKEN>'
            -H 'Content-Type: application/json' \
            -d '{
                    "CultureCode": "en-GB",
                    "priceGroupId": "878b0ff1-0800-40ac-b006-0e9858f234a5",
                    "shippingAddress": {
                        "city": "Aarhus",
                        "countryId": "9efae45f-530b-4396-b87c-c34b88169897",
                        "email": "[email protected]",
                        "firstName": "John",
                        "lastName": "Doe",
                        "line1": "Klostergade 26",
                        "mobileNumber": "88 88 88 88",
                        "postalCode": "8000",
                        "state": "Jutland"
                    },
                    "shippingMethodId": "3e77be5c-bcee-4688-94a8-a02987f218f3"
                }'
Note: The
countryIdandshippingMethodIdcan be found throughapi/v1/countriesandapi/v1/shipping-methods. For more information about, how to recieveCountriesorShipping Methods. see api refrences or a deep dive intocountriesorShipping Methods.
Step 6 - Add billing Information
By using the BasketId of a Basket from Step 3 and the access_token from step 2, we can start adding billing information to the basket.
        curl -D- -X POST https://umbracodemo1.ucommerce.net/api/v1/baskets/{baketId}/billing-address \
            -H 'Authorization: Bearer <ACCESS_TOKEN>'
            -H 'Content-Type: application/json' \
            -d '{
                    "countryId": "9efae45f-530b-4396-b87c-c34b88169897",
                    "email": "[email protected]",
                    "firstName": "John",
                    "lastName": "Doe",
                    "line1": "Klostergade 26",
                    "mobileNumber": "88 88 88 88",
                    "postalCode": "8000",
                    "state": "Jutland"
                }'
Step 7 - Convert to order
By using the BasketId of a basket from Step 3 and the access_token from step 2, we can start the payment flow.
        curl -D- -X POST https://umbracodemo1.ucommerce.net/api/v1/payments \
            -H 'Authorization: Bearer <ACCESS_TOKEN>'
            -H 'Content-Type: application/json' \
            -d '{
                    "basketId": "afd095a8-6215-4daf-a813-60f27f01c7b7",
                    "cultureCode": "en-GB",
                    "paymentMethodId": "ede4ebf7-f70d-4623-b58b-22a38be803b9",
                    "priceGroupId": "878b0ff1-0800-40ac-b006-0e9858f234a5"
                }'
Note: The
paymentMethodIdcan be found throughapi/v1/payment-methods. For more information about, how to recievePayment Methods. see api references or a deep dive intoPayment Methods.
This will produce a response that looks like this:
    {
      "paymentId": "string",
      "paymentUrl": "string"
    }
Follow the paymentUrl and walk through the payment flow.
Congratulations! You have successfully converted your basket to an order.
What's next
Now that you have created your first order, you’re all set to explore our API further 🚀
- Connect - See more details on how to use the API
- API Reference – Explore our API reference to see all the amazing things our API exposes to you 🧭