
Setup Configs in Catalog
Step 1: Product Definition for the Main Product
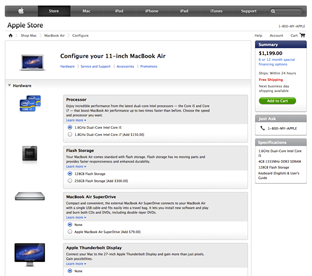
First we’ll need a main product which is the one that we want to configure. For the sake of concreteness let’s build a product configurator for an Apple MacBook Air.
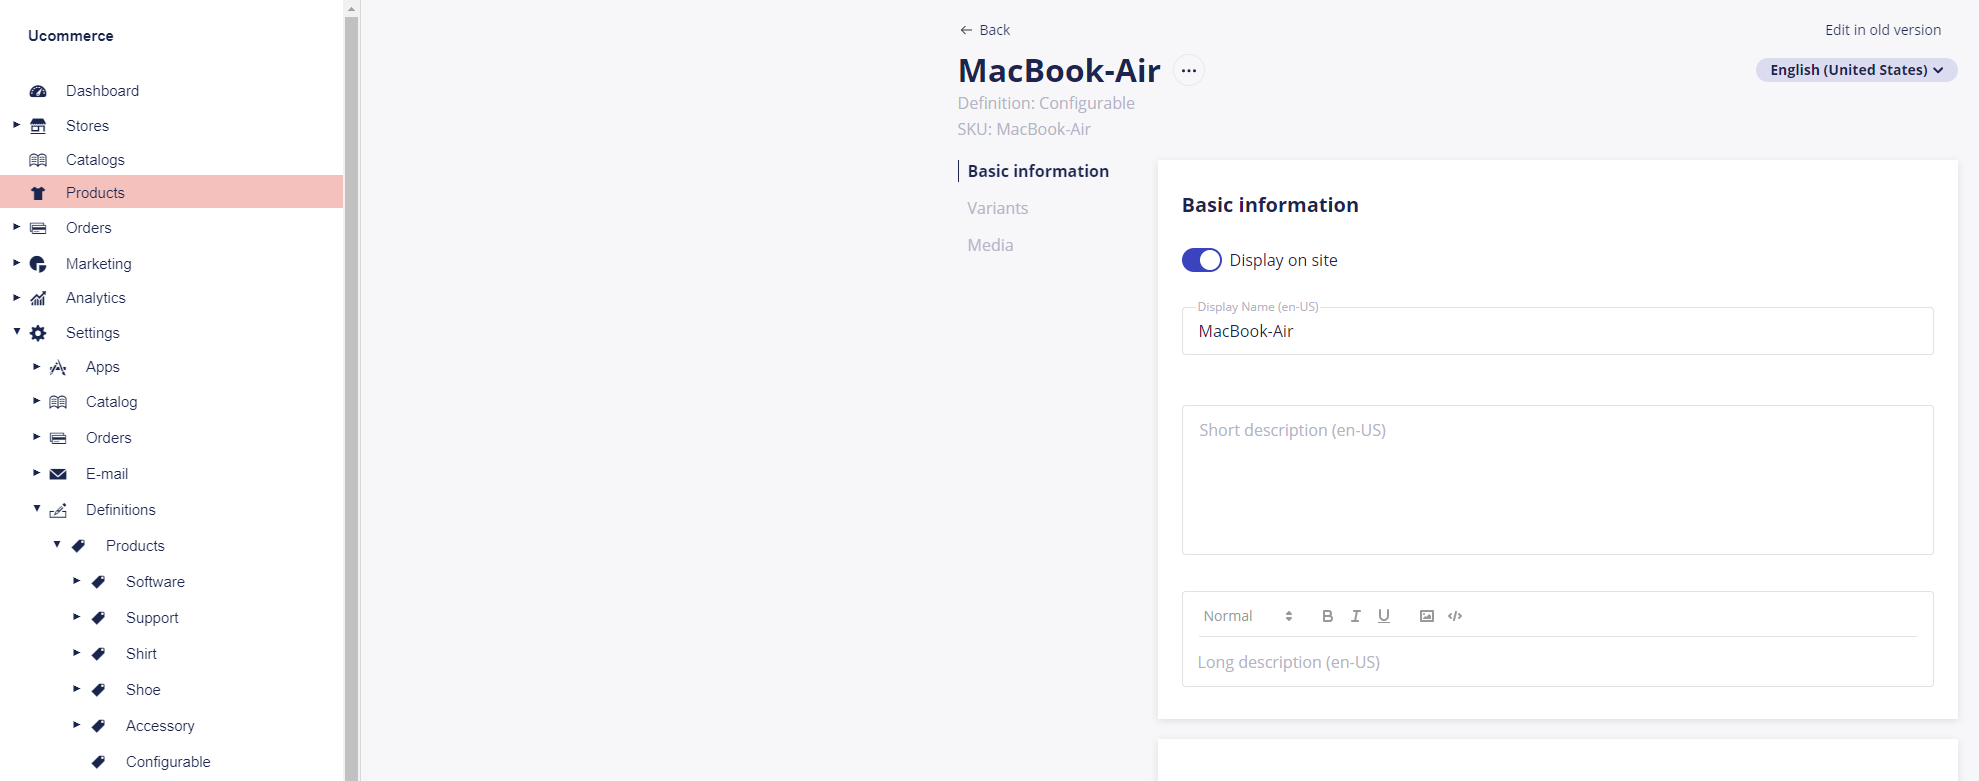
We’ll build a definition to hold main products. Let’s call it “Configurable”. The product definition will hold information to present the main product unique selling proposition like what you see on the main product page on Apple.com.
We won’t be doing any variants for this product definition as the options will come from somewhere else.
Before we move on let’s create the MacBook Air in the product catalog.
Step 2: Add Options to the Catalog
For a MacBook Air we’ll need to be able to configure the CPU, the amount of storage, and a couple of add-ons like an external optical drive and display.
We’ll do the options as individual products, which incidentally they typically are anyway with their own inventory.
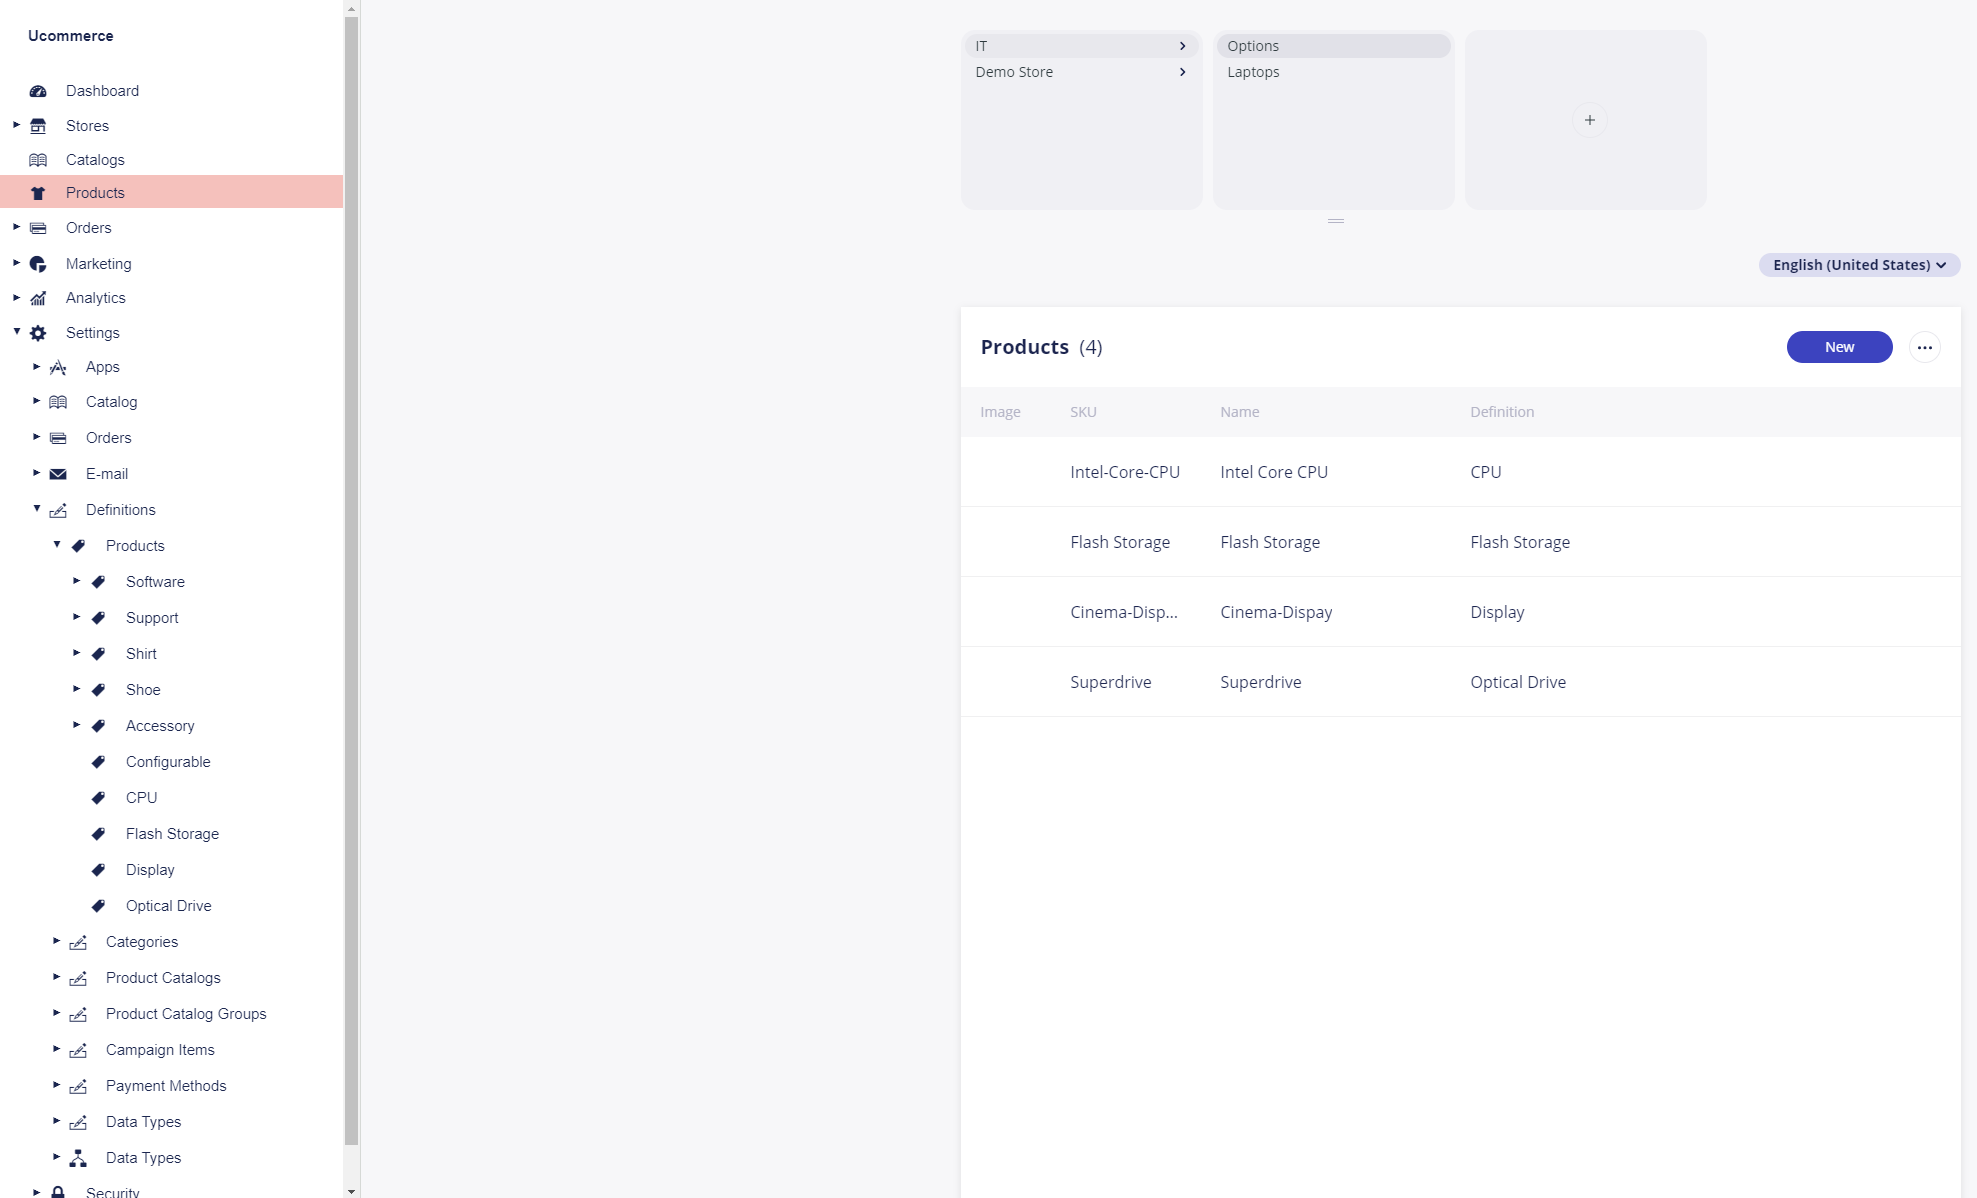
Let’s add a couple more product definition for the various types of options: CPU, Flash Storage, and Display.
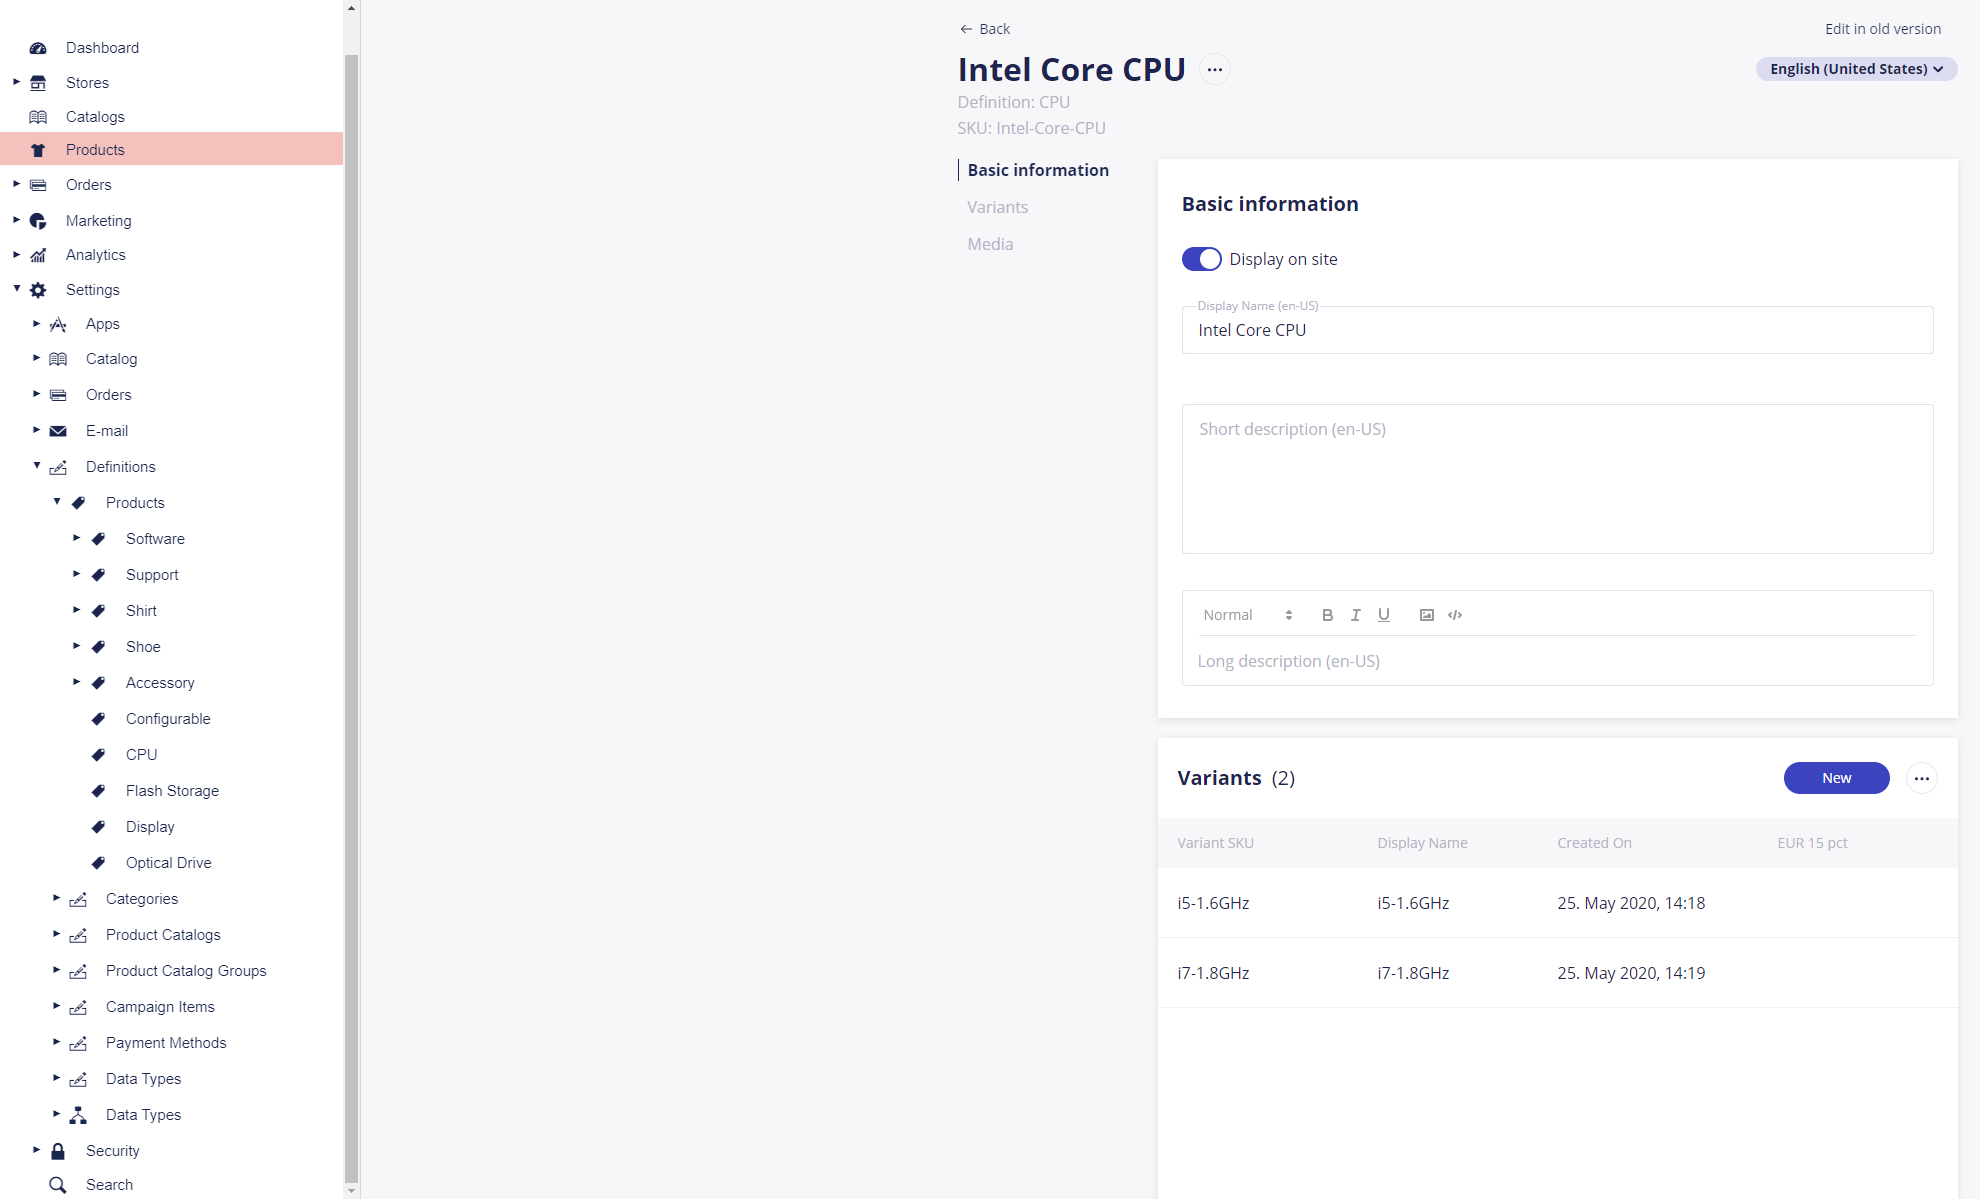
We’ll do variants for the product options as they will become the actual choices the customer has to choose from when configuring the final product.
Here are the product options configured in a separate category for good measure. Note that each option has a number of variants configured.
Step 3: Configure Available Options
Now we’ve got a catalog of products and main products and now for the good stuff: Configuring the available options for each main product. Customers will be able to select CPU, Flash Storage, and optional optical drive or Display for our MacBook Air.
Ucommerce supports related products, which is a handy way of building up a list of available options for a given product. So let’s see if we can make that work for our configurator.
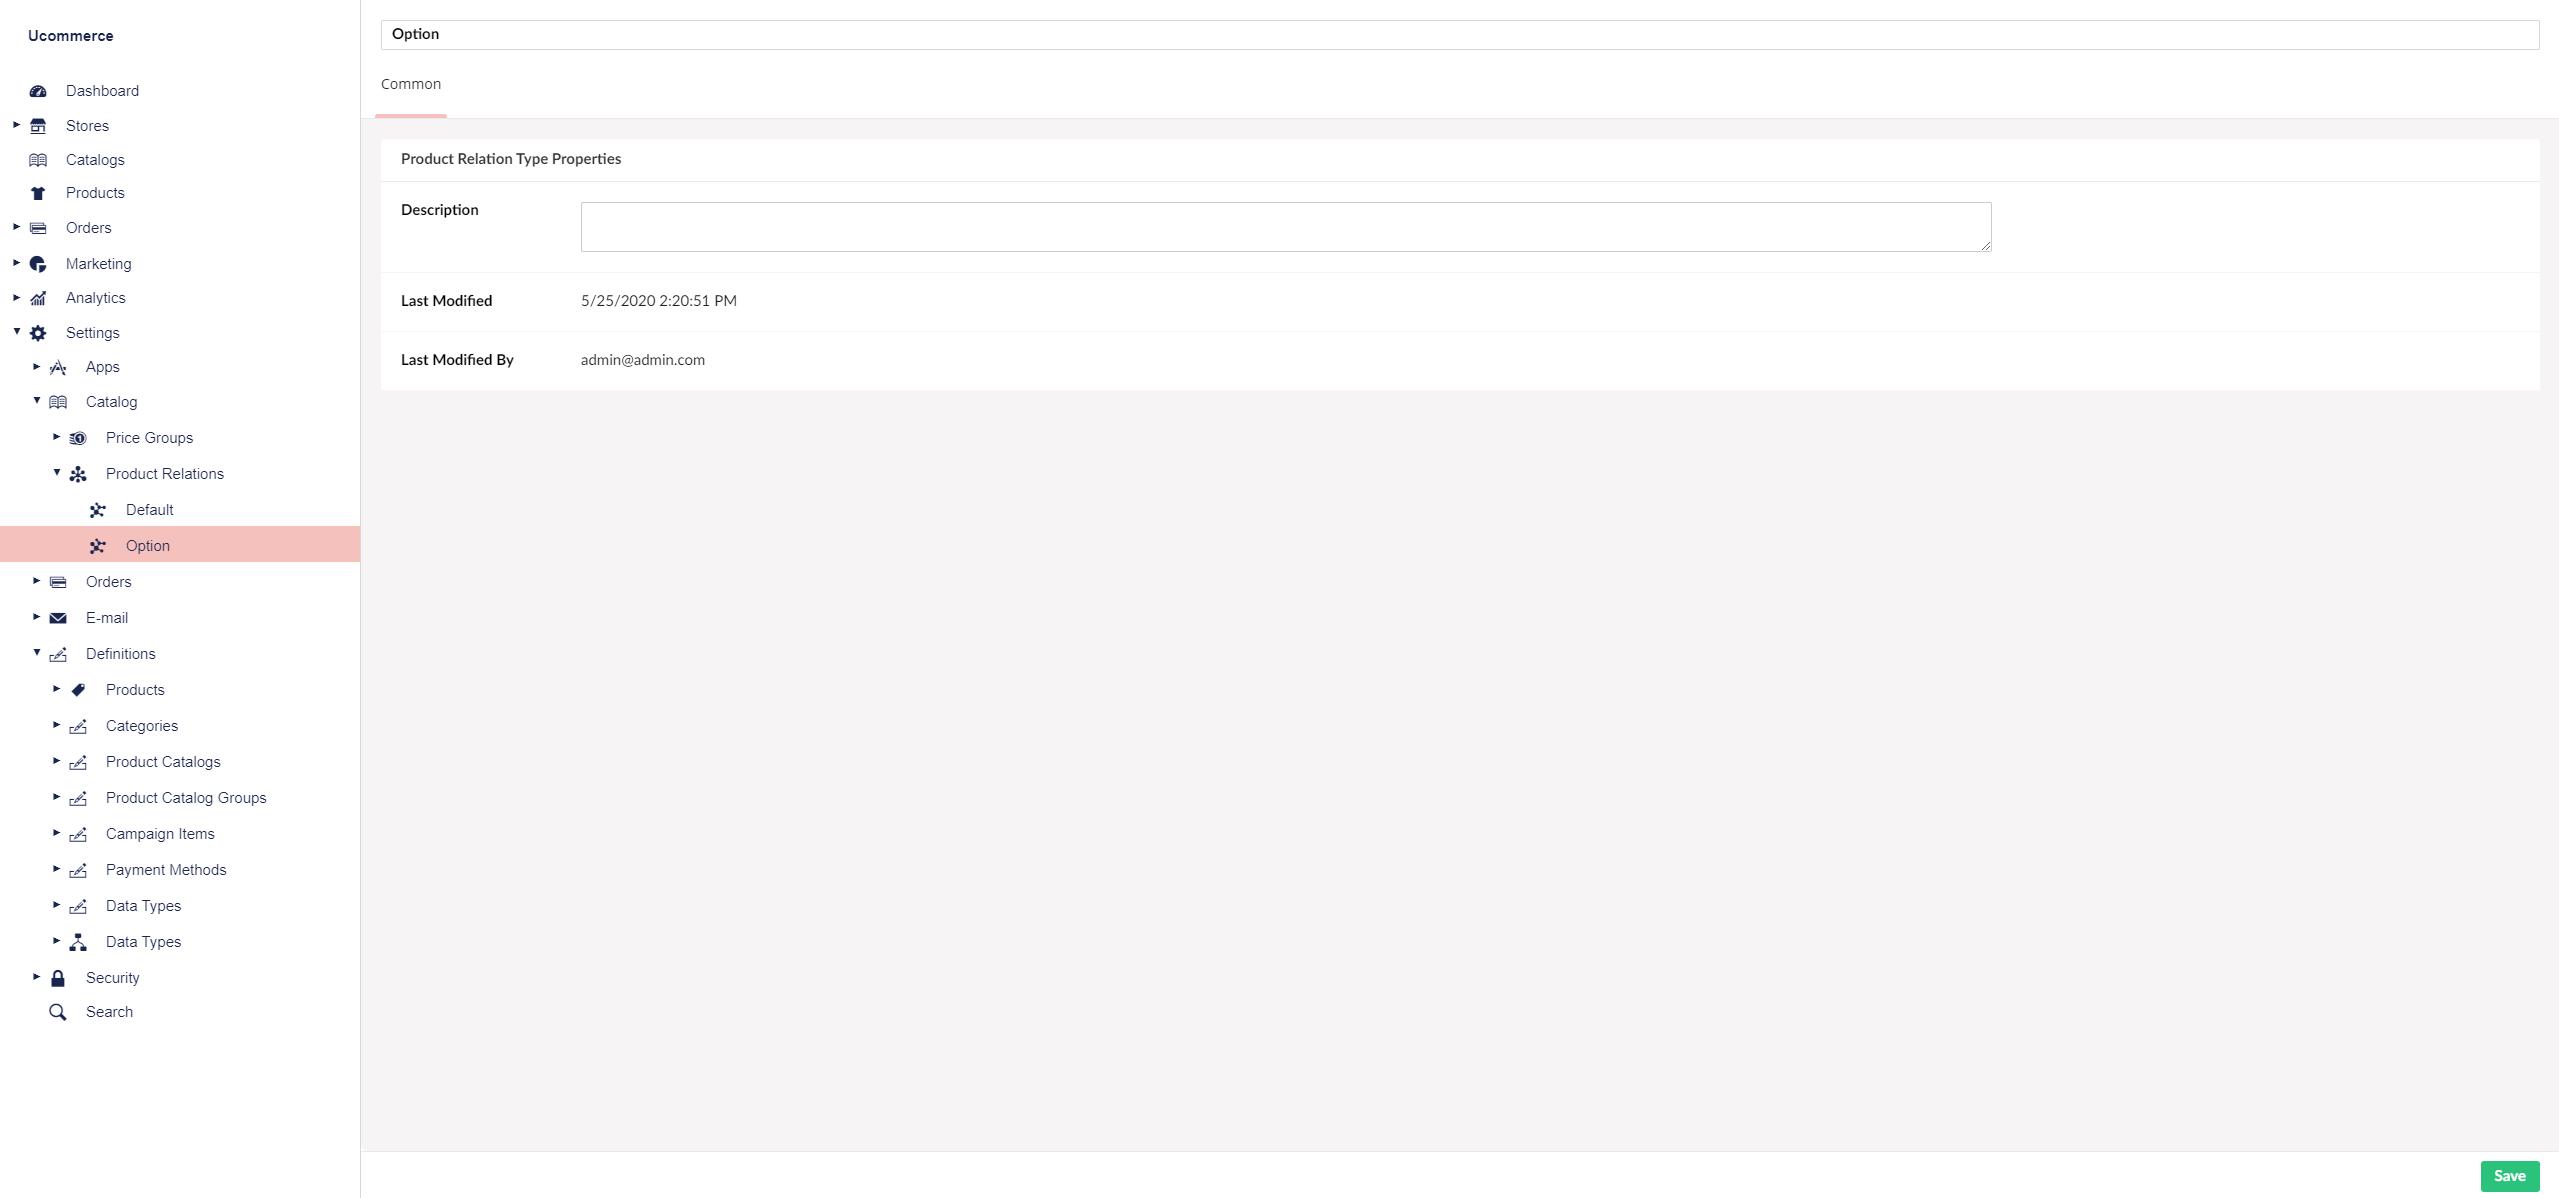
First let’s set up a new relationship kind called “Option” to help us find available options later on.
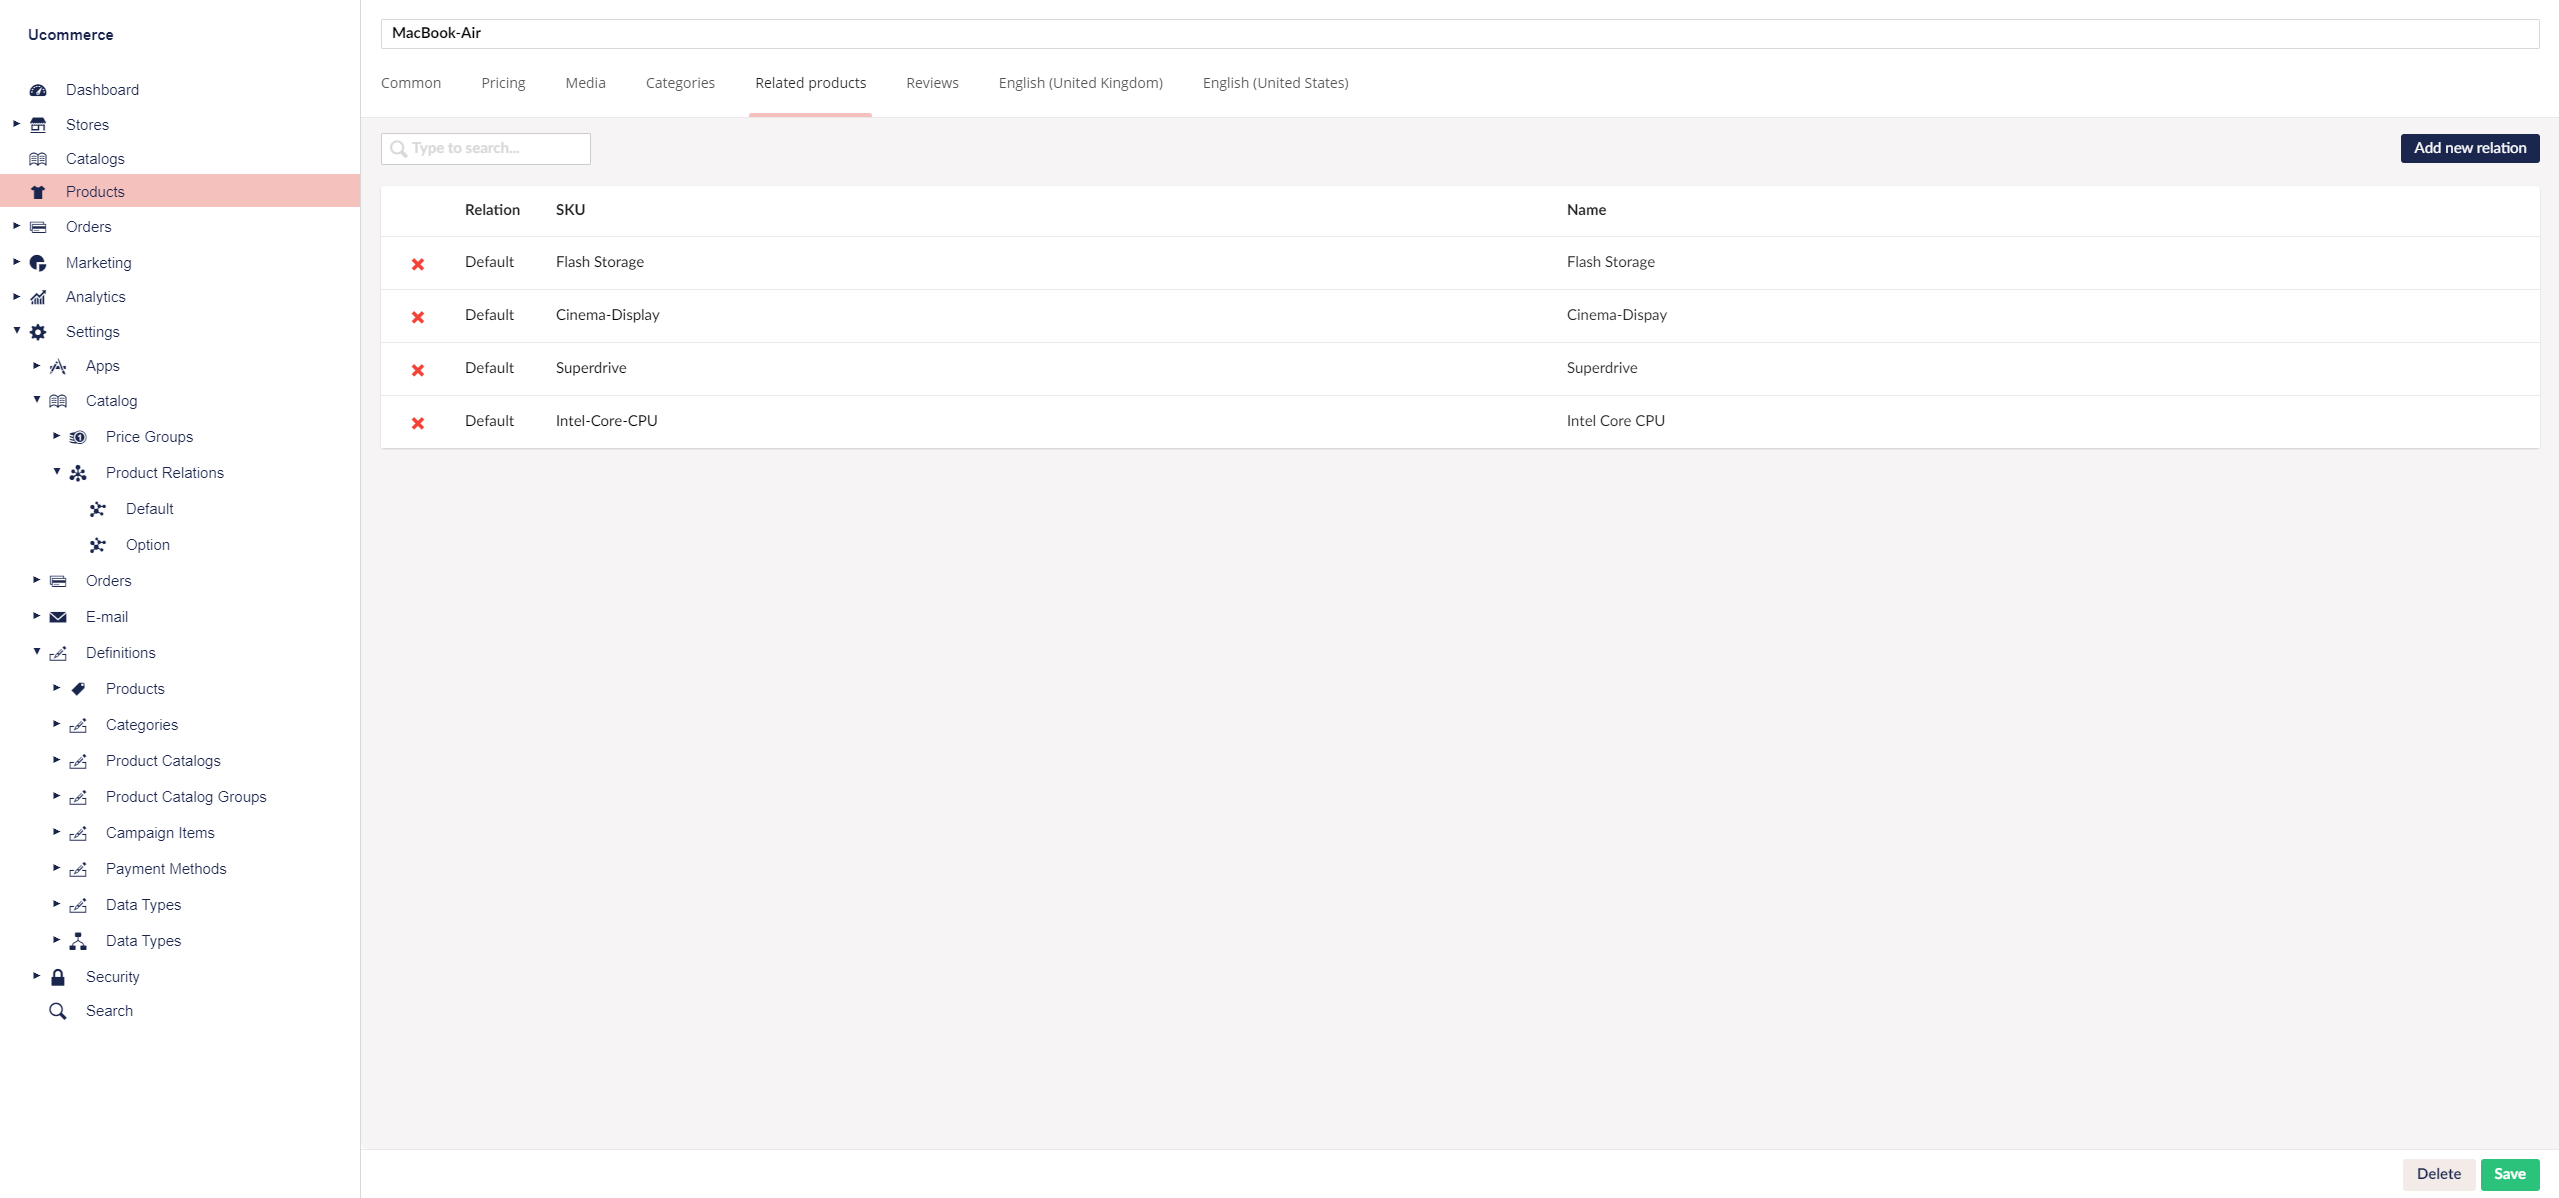
And now let’s actually add the options to our MacBook Air.
On the next documentation page, we will continue with building the configurator.