
Setup Ucommerce to Include SagePay as a Payment Method
Ucommerce comes with built-in support for SagePay payments. This guide will walk you through getting Ucommerce to work with SagePay for payment processing. Ucommerce integrates with SagePay using server integration.
Settings in Ucommerce
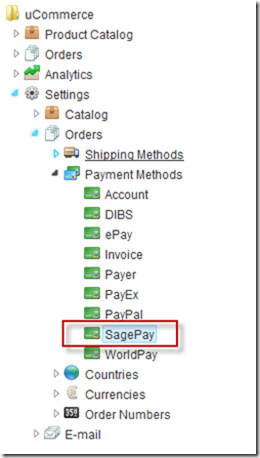
Add a new payment method, under “Ucommerce –> Settings –> Orders –> Payment Methods”. You can call it whatever you like, here I have used “SagePay”.
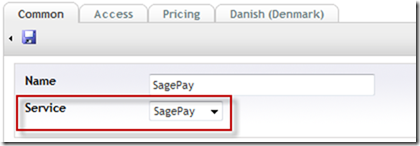
Click the newly created node and select “SagePay” in the Service drop down list. Fill out the rest of the required information, like where it’s available from under the “Access” tab, pricing and the language tabs. When done click “Save”.
That’s everything in the Ucommerce interface.
Settings in SagePay Administration Panel
You can learn more about how to configure SagePay in the SagePage Help Centre.
Setting properties for the PayEx
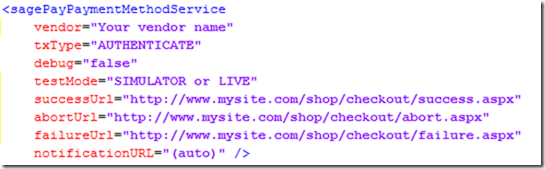
Under "the common tab" on your payment method, you'll find the different fields to configure the details related to the payment gateway.
Finding vendor
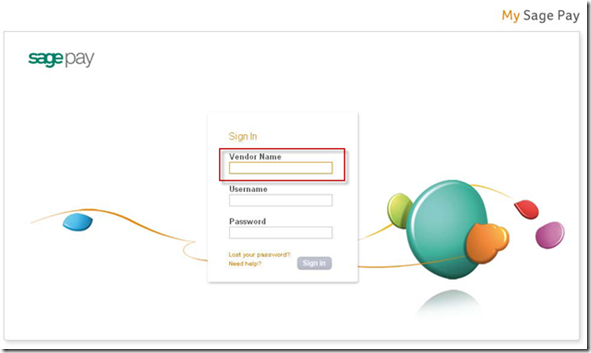
Vendor is the name you use when you login with SagePay.
Finding debug
Debug mode indicates whether you want to have an intermediate page show up with the values, which will be posted to the payment gateway.
Finding testmode
Testmode indicates whether your site is in simulation mode (SIMULATOR), test mode (TEST), or running in production mode (LIVE).
Finding successUrl
URL the customer is redirected to once the payment is accepted.
Finding abortUrl
URL the customer is redirect to if she cancels payment authorization.
Finding FailureUrl
URL the customer is redirect to if the payment could not be authorized.
Finding notificationUrl
Ucommerce will generate a callback URL for internal use. Leave the setting at (auto) unless you need to handle callbacks yourself.
Executing a Pipeline on Callback
Running a pipeline once payment is authorized can be helpful if you need to complete the order once the customer returns to your site.
To run a “pipeline” once the callback if received and processed, you need to modify the database. If you used the name “SagePay” for the payment method name, you can run this SQL query in the SQL Server Management Studio.
UPDATE Ucommerce_PaymentMethod SET Pipeline = 'Checkout' WHERE Name = 'SagePay'
or just edit it manually in SQL Server Management Studio.

Now the default pipeline that comes with Ucommerce will be run after each successful callback. This sets the Basket to an Order, gives it an OrderNumber, and other things.
Optional: Enable Acquire, Cancel, and Refund in Ucommerce Back Office
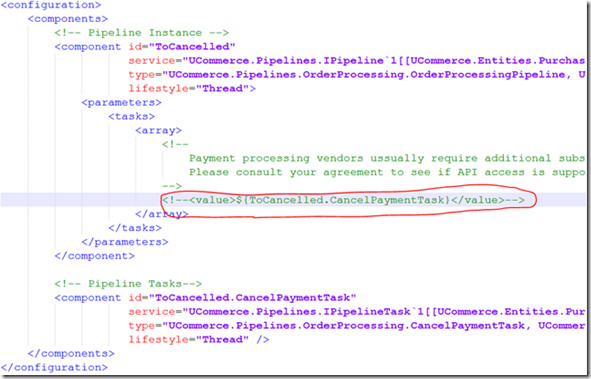
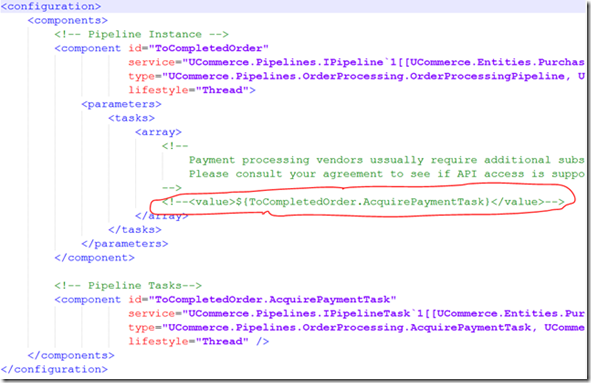
To be able to acquire, cancel, and refund payments you need to enable two pipeline tasks in the ToCompletedOrder pipeline and ToCancelled pipeline.
The pipeline configuration is found in /umbraco/ucommerce/pipelines.
ToCancelled.config
ToCompletedOrder.config
FAQ
Testmode – Make sure test mode if turned off when going live.